With OneDesk, receiving feedback from customers is easy.
Your OneDesk account comes with a customer portal that makes it easy for your customers to provide feedback, and for you to understand their needs.
You can also gather customer-suggested improvements by embedding the customer portal in your website or have us host a dedicated microsite for you.
Activating, setting up the customer portal and receiving feedback
OneDesk allows you to set your customer portal options in order to control what your customers can do and view within the portal.
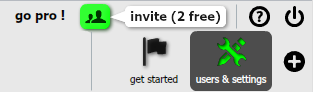
1. Click on users and settings at the top-right of the application
Note that only users who are designated with an administrator role will see this button.
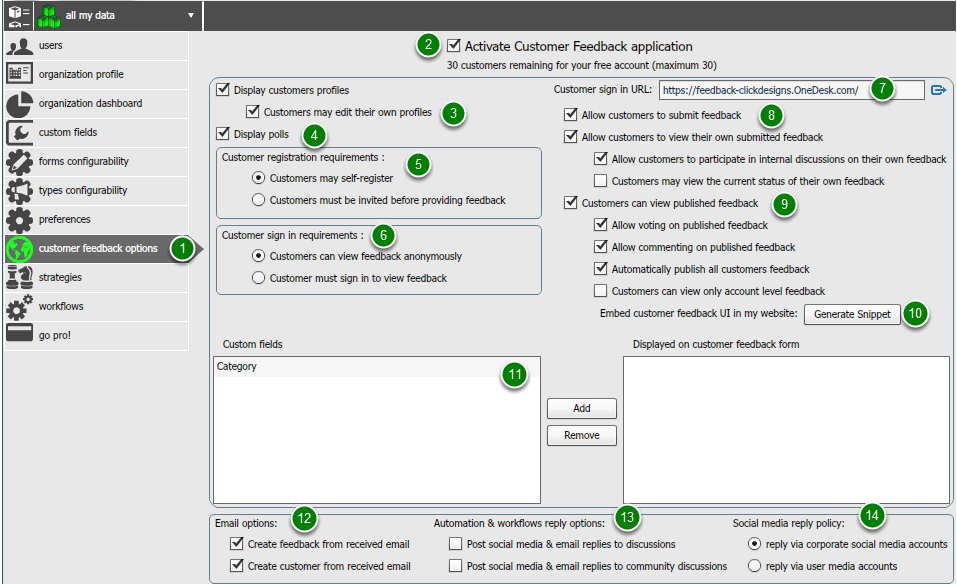
2. Select customer feedback options in the left menu sidebar (1).
3. To activate the customer portal, simply ensure that the box next to Activate Customer Feedback application is checked (2). Customers will then be able to access the portal by going to the customer sign-in URL.
4. Set your customer portal options by checking or unchecking any option you you would/would not like your customers to have access to.
- Choose whether customers can view and edit their own profiles (3).
- Choose whether customers can see the polls you create (4).
- Set your customer registration requirements – choose whether your customers can self-register, or whether you must invite them first (5).
- Choose whether your customers will need to sign in to view feedback, or whether they will be able to view feedback anonymously. Note that customers still need to sign-in to vote on, comment on, or submit feedback (6).
- The customer sign-in URL (7) is the web address your customers will need to go to in order to access the customer user interface. It is automatically generated once you choose your organization user sign-in URL.
- Set your customers’ feedback permissions to control how they submit feedback (8).
- Choose whether your customers can view, vote and comment on published feedback, and whether feedback is automatically published (9).
- You can choose to embed the customer feedback user interface into your website (10).
- Choose which custom fields will be displayed on the customer feedback form in order to be able to classify your feedback (11).
Set your email options (12):
- Choose to create feedback from email you receive. This means that feedback will automatically be created when customers send an email to the OneDesk.com email address you provide them with.
- Choose to create customers from email you receive. This means when a customer sends an email to your OneDesk.com email address you provide them with, they will automatically be entered in the customers tab.
Set your automation reply options (13):
- Choose to post social media and email replies to discussions or community discussions. This means that when you reply to a feedback via social media or email, you can choose to also have your reply show up under that feedback’s discussion or community discussion.
Set your social media reply policy (14):
- Choose to reply via your corporate to user social media accounts.