
Connect a helpdesk to your JIRA using OneDesk
In this short guide we will show you how to connect a helpdesk to your JIRA account (namely, OneDesk), what this integration can do and how this can help your work and your business.
To do this you will need:
-Your JIRA account.
-A OneDesk account (even the trial account works fine).
-A Zapier account.
-The top secret developer access for OneDesk on Zapier!
How it all fits together:
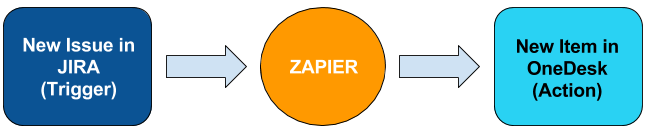
This integration between these two platforms is done through an online service called Zapier. What Zapier does is this: if a certain event happens in the first platform (also referred to as a trigger), an action is then taken in the second one. This type of formula allows for a great versatility in the possible integrations that you can have.
Today we will focus on a specific integration: making sure that any item made in JIRA (Trigger) will also be made in OneDesk (Action).
That way, you will be able to essentially connect a helpdesk to your JIRA!
What could integrating these two platforms produce:
There are many available triggers and actions for both JIRA and OneDesk on Zapier. This means you could go about setting up quite a few different workflow integrations to help make your work that much more efficient.
Examples of this could be:
-Sync the priority of items across both platforms by updating item details in OneDesk every time a new priority is set.
-Creating new projects in JIRA leads to new containers in OneDesk, making sure you keep track of all your upcoming work or releases.
And quite a few more including: specific searches, creating new issue types, etc. Enabling you to have a well integrated helpdesk connected to your JIRA.
How can you make this integration:
Once you have obtained the key to get top secret privileges to use OneDesk in Zapier, simply log in to your Zapier account a create a new Zap (that’s how their automations are called) by clicking the “Make a Zap” button.

Then, you will choose in what order the formula should take place. In our case, we will be selecting JIRA as our Trigger application and OneDesk as the Action application.
Simply choose the Trigger application as JIRA, select the specific trigger as “Create a New Issue” (but you may choose from other options down the list).
Connect to your account and setup the action application.
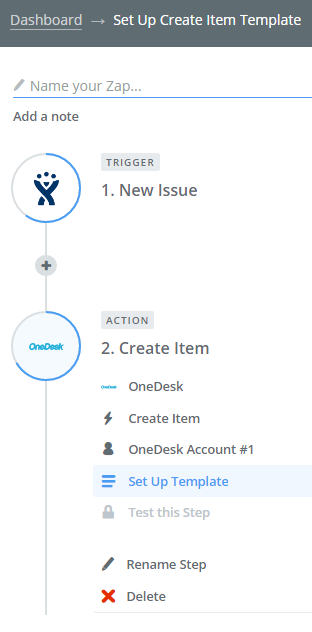
In this case, we have picked OneDesk and selected the “Create a new Item” action (again there are many other options to pick from). You will also have to connect to your OneDesk account next, as well as setup which information you would like to transfer from JIRA.
This means that when a new issue is made in JIRA, a new item will be created in OneDesk (with the details and information you have chosen).
Done. You can now test the Zap to see if it will work and do what you need it to, and modify it if it doesn’t.
![]()
The final step is to name the Zap (just so it’s easy to remember what it is) and to activate it at the top right by clicking on the “Your Zap is OFF” slider.
You can make quite a few useful Zaps just like this one by quickly going through the same process! There are many other manners you could connect a helpdesk to your JIRA.
Read our full integration guide here!
If you have any questions about options for OneDesk don’t hesitate to ask us either on our website or book a demo with us.
Photo Credit : “ABCs”/ OC Always / CC BY