Connect your Google contacts to your Helpdesk
This small guide is meant to help you connect your Google contacts to your helpdesk solution in a quick and easy fashion.
Pre-requisites for this integration:
- A OneDesk account (the trial works too!).
- Your Google account.
- A Zapier account (the free version should be more than enough).
How the formula works:
Integrating applications with Zapier is an easy thing to do. All Zapier does is run a basic formula to tie your applications together. This formula sounds like : ”if something happens in the first platform, then take an action in the second platform”. With a formula this simple it is extremely flexible and allows for any kind of integration so long as both applications are available on Zapier.
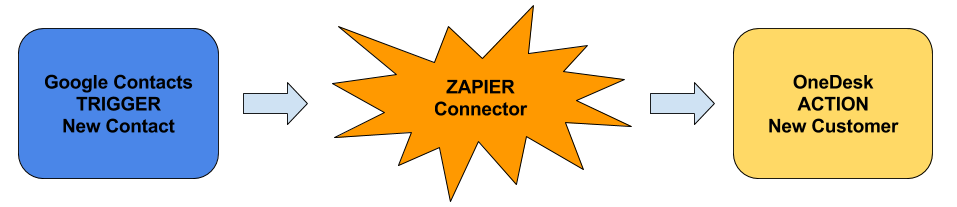
In our case, the formula should look a little bit like this: ”If a new contact is created in Google contacts, then create a new customer in OneDesk”.The first application is called the Trigger Application and the second, the Action Application.
With that said, let’s look at how to make this happen on a step-by-step basis.
How to connect your Google contacts to your helpdesk:
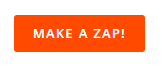
First things first, when on the Zapier site, and armed with our special dev link, find the large orange button that says ”Make a Zap”. This will take you to the special page to create your automation between your two applications.
Once on that page you will have to select the next steps that will decide the nature of the integration you are creating. In our case, the Trigger Application will be Google Contacts, and the Trigger will be ”New Contact”. That means naturally that the Action Application will be OneDesk and that the Action itself will be to ”create a new customer”.
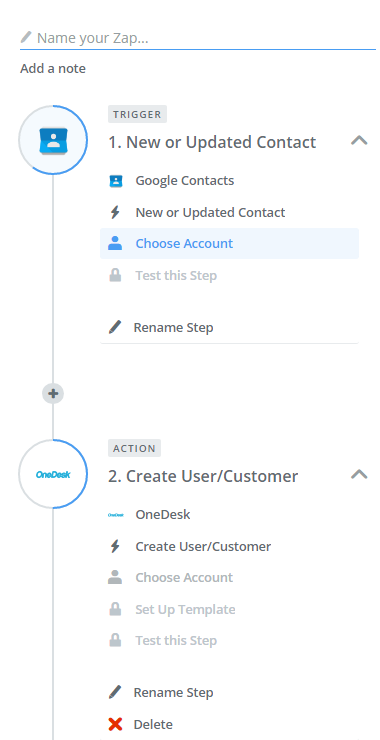
With all that filled in, you’re pretty much all set. The next few steps let you login to both applications and verify the steps work by testing them individually.
You will also have to select which information you want to sync through this integration and how you want it done. This step is the most important as it lets you pick and choose what you consider important and also how you would like this information to be transferred. We recommend you play around with this for a while and do some testing in order to fine tune your integration.
Once done, however, all you have to do is name this integration and activate it by clicking on the gray slider that says ”Your Zap is OFF”.
![]()
There you have it, now any new contact in your Google contacts will find itself in your OneDesk account!
Photo Credit: ”Spiral” / Jakub Solovsky / CC BY