You can create several timesheets at the same time in OneDesk, as well as apply automations to streamline common processes you encounter while you handle your timesheets. Learn how to create multiple timesheets and apply automations to them below.
Creating Multiple Timesheets at Once
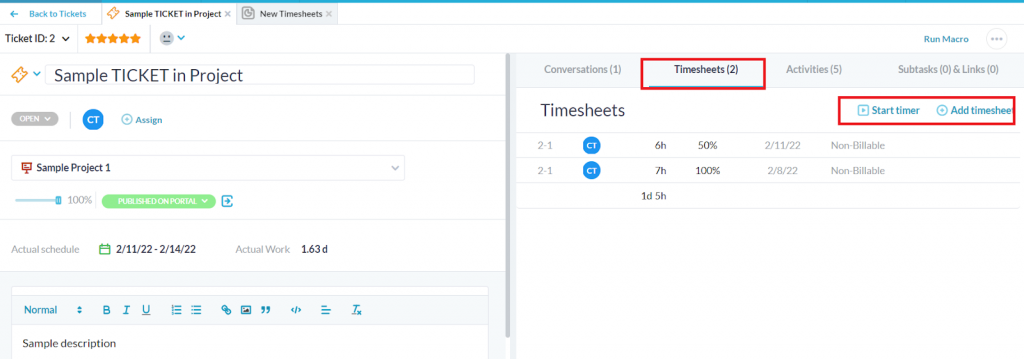
There are several ways to create multiple timesheets at the same time, simply add a timesheet either by creating one from inside an item’s detail panel (through the timer or by manually adding one):
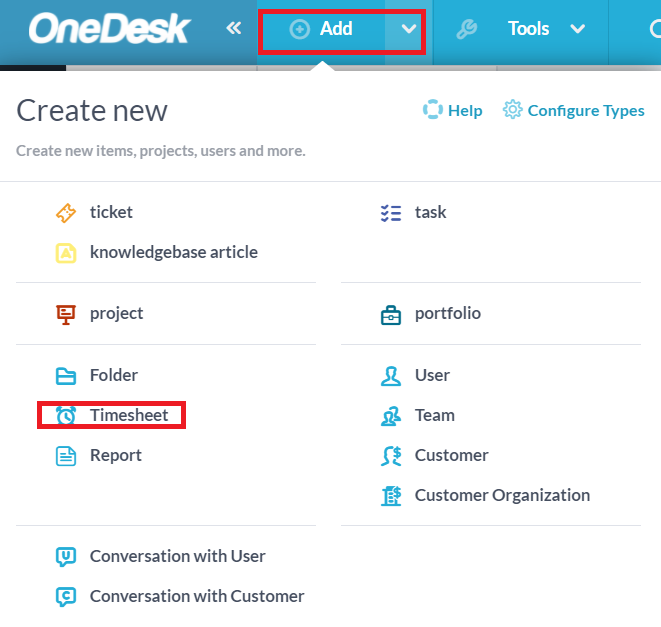
Through the “add” button at the top of the screen:
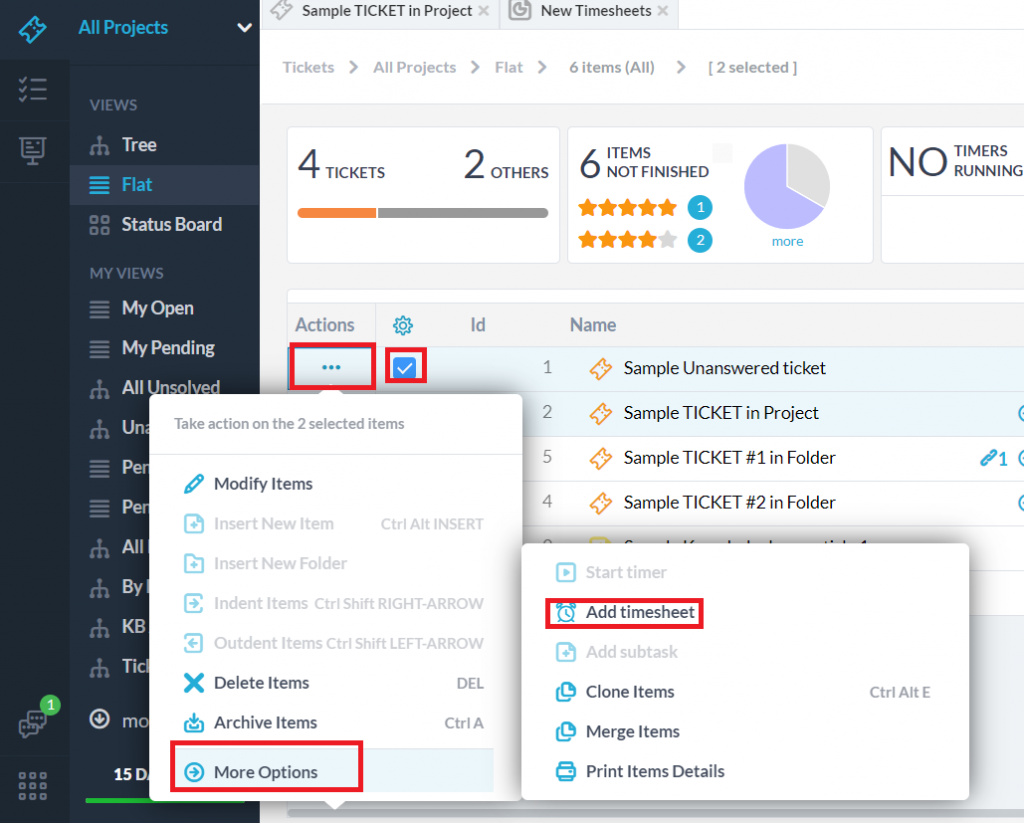
Or by selecting one or multiple items at once in their respective application, and choosing “Add timesheet” from the actions menu:
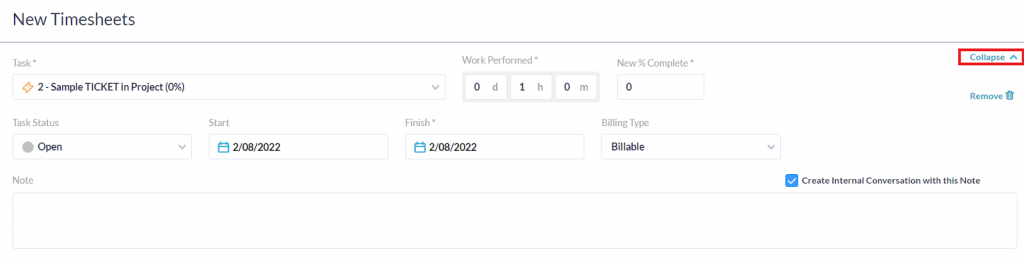
Once you select to create a timesheet, you will be brought to a screen like the following example:

At this screen, you can enter details about your timesheet such as the work performed and its percentage complete. You can expand the timesheet with the “expand” dropdown in the right-hand side to change more details, such as the status, start and finish date, and notes for the timesheet.
Toward the bottom of the screen there is an option to add another timesheet. Selecting this option will automatically create a second timesheet which you can fill out:
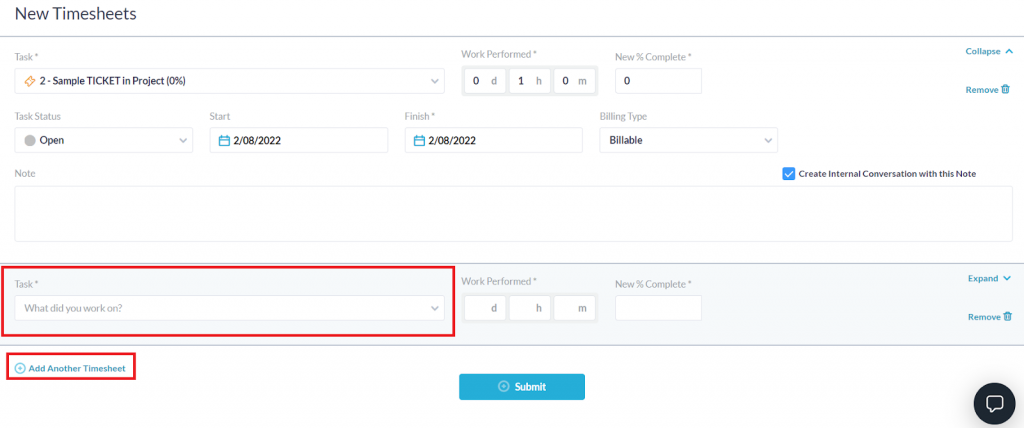
You can again choose what item your timesheet will be submitted under, and change any additional details. You can create as many timesheets as you wish by using the “add another timesheet” button.
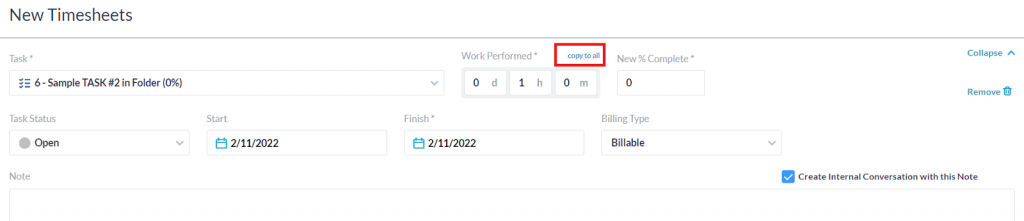
You can also copy properties from one timesheet to another to save yourself time. To do this, hover over the field you wish to copy. An option to “copy to all” will appear. Select this to copy the field to all your timesheets automatically.
Automations for Timesheets
Timesheets can have automations run on them much like tickets, tasks, and projects can. To create automations for your timesheets, go to more applications -> administration -> timesheets under the user apps heading.
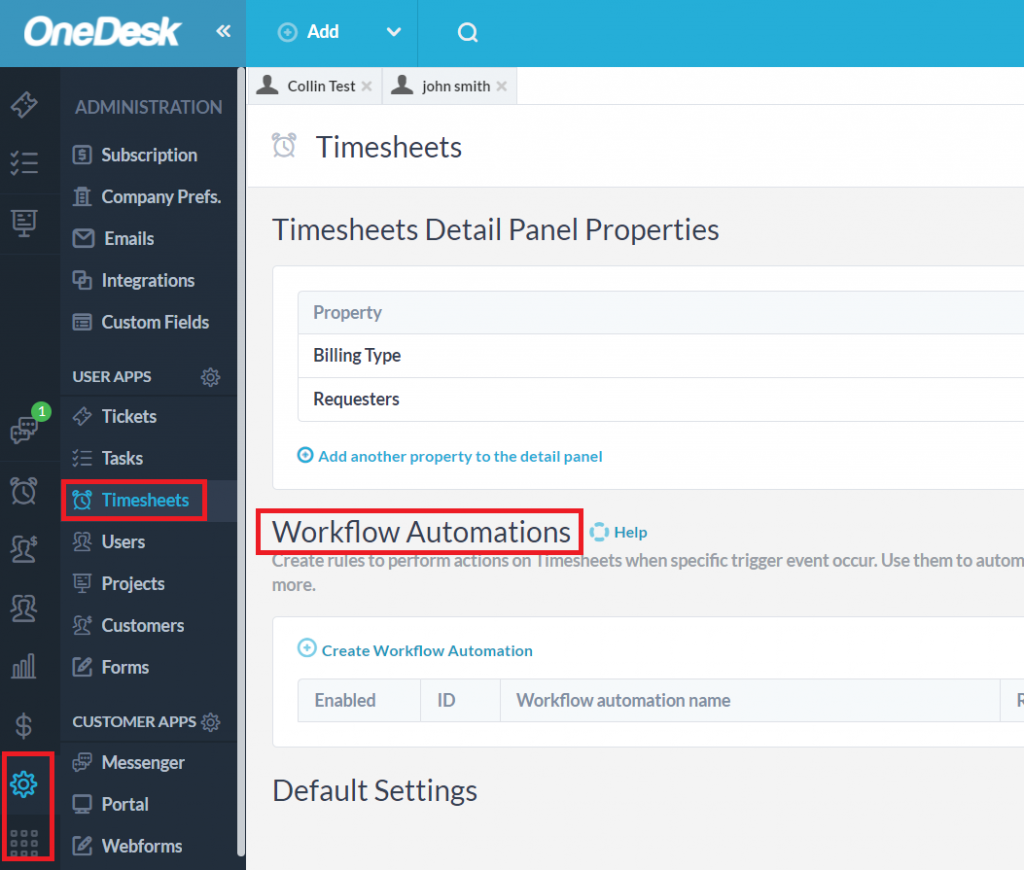
Scroll down to the workflow automations heading and select the create workflow automation button to create an automation which will apply to your timesheets. There are a variety of triggers and actions that you can apply to timesheets with the automation tool.
As an example, let’s create an automation which runs on timesheets containing a keyword “overtime”, such that when they are created, an automated message is sent explaining that overtime was needed to a management user in the company:
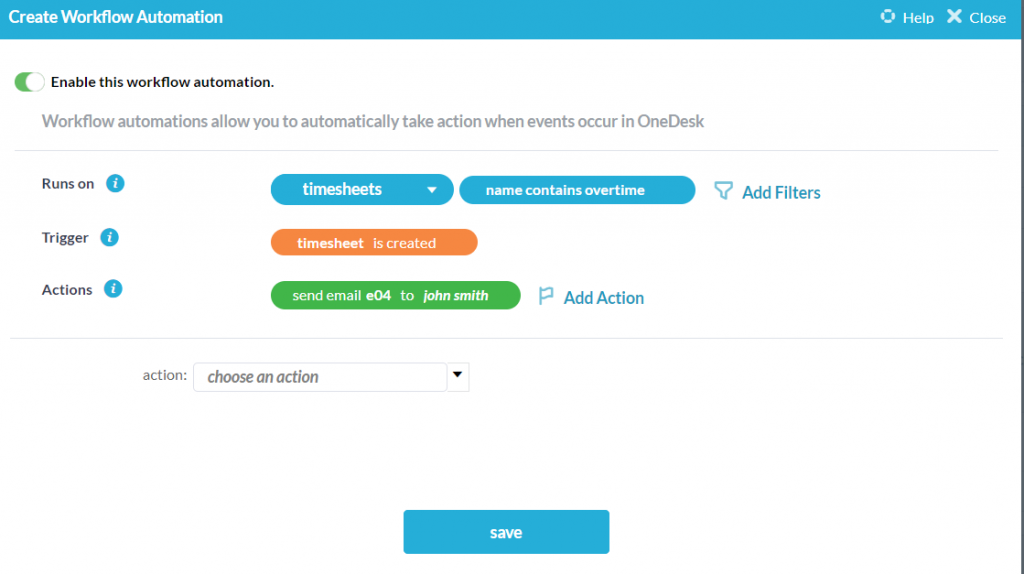
Click save and we can now enable or disable our automation, edit it further, or delete it entirely.
Related articles