Custom fields in OneDesk are a powerful tool to include as much information on an item as you need. There is now a dedicated custom field editor, as well as conditional custom fields which will only appear when certain choices are chosen from existing fields.
Table of contents
Accessing the Custom Field Editor
To access the custom field editor, go to more applications -> administration -> custom fields.
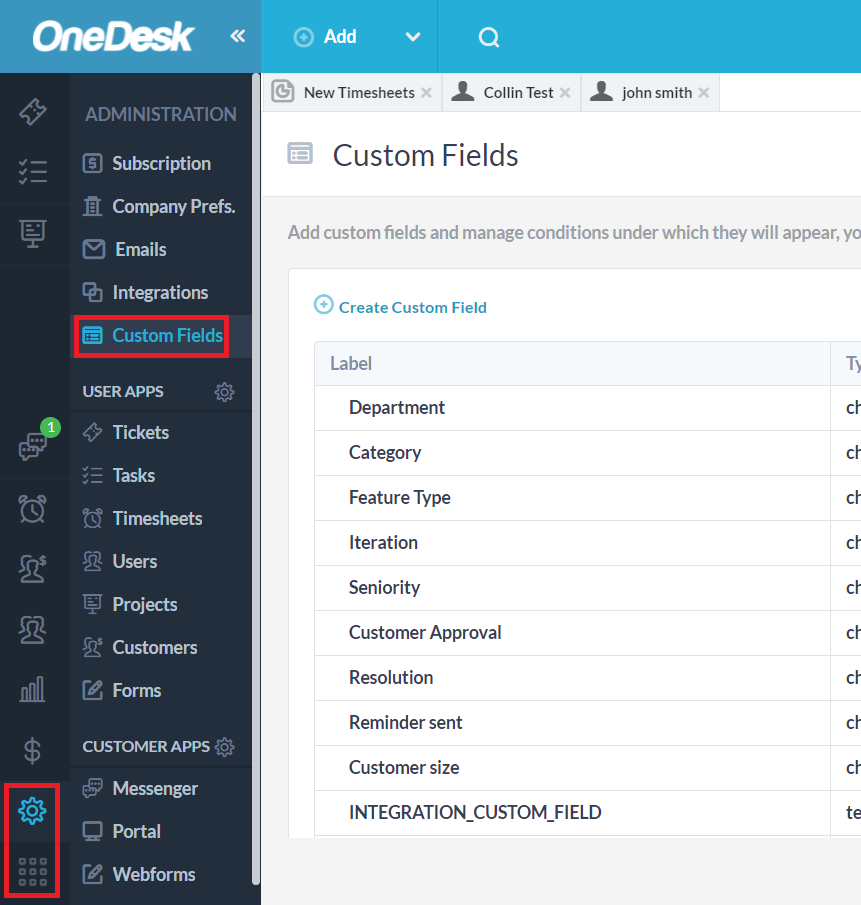
At this section, you can see any pre-existing custom fields, what type they are, a default choice (if applicable), what project they are visible in, and actions such as editing and deleting existing custom fields.
Scrolling down, you can manage any conditions that interact with your existing custom fields, or add new conditions.

Creating a Custom Field
You can create a custom field with the “create custom field” button toward the top-left corner of the custom field manager. As an example, let’s create a custom field for tickets called “Location” which offers a choice of location out of three options. You can enable search among the choices as well if needed – useful for custom fields with many options.

Adding Conditions to Custom Fields
Let’s create a condition for a custom field. To add conditions for your custom fields, head to the “manage conditions” section and choose to add a condition.
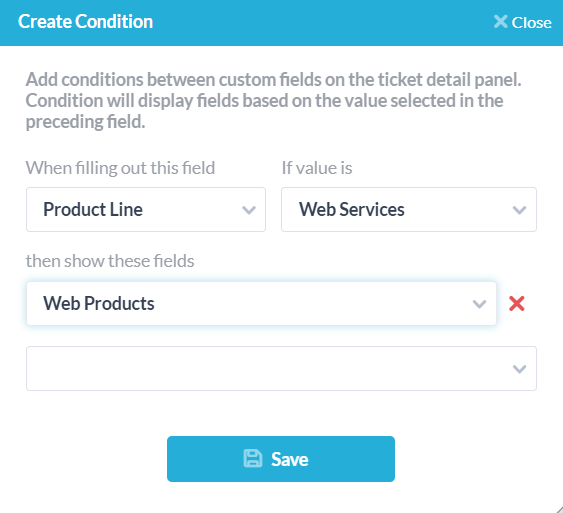
For our example, let’s add a condition to the custom field “Product Line”, such that if the option “Web Services” is chosen, a custom field called “Web Products” will now be visible on the ticket detail panel.
A screen will appear where you can specify when a value in a specific field is chosen, one or more other fields will then appear. From our example above, then, we fill out the fields like so:
Making Conditional Fields Visible
Item detail panel and internal form
Once a conditional field has been added, you must enable it for the application’s detail panel that you wish to see it in. Since our field with conditions appears on tickets, we head to the ticket options under our administration settings and scroll to the “Ticket Detail Panel Properties” heading. Here, we see our field, and must switch ‘Include conditional fields’ to ON:
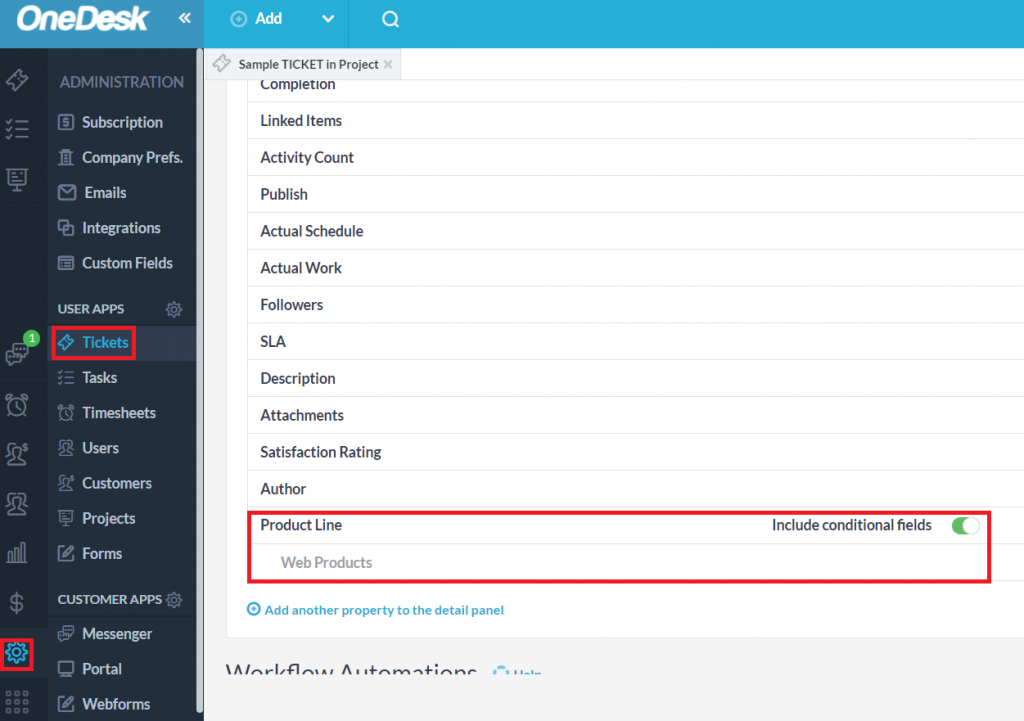
Now, our conditional field will appear on the ticket detail panel when the corresponding response is chosen.
You can also see the conditions on an item’s form when you add a custom field. To do this, head to the “Forms” section under administration, and select the item form you wish to add your custom field to – tickets, in our case. You can then select a custom field to add to this form with the “Add another property to this form button”. If the chosen field has conditions, they must be enabled here as well:
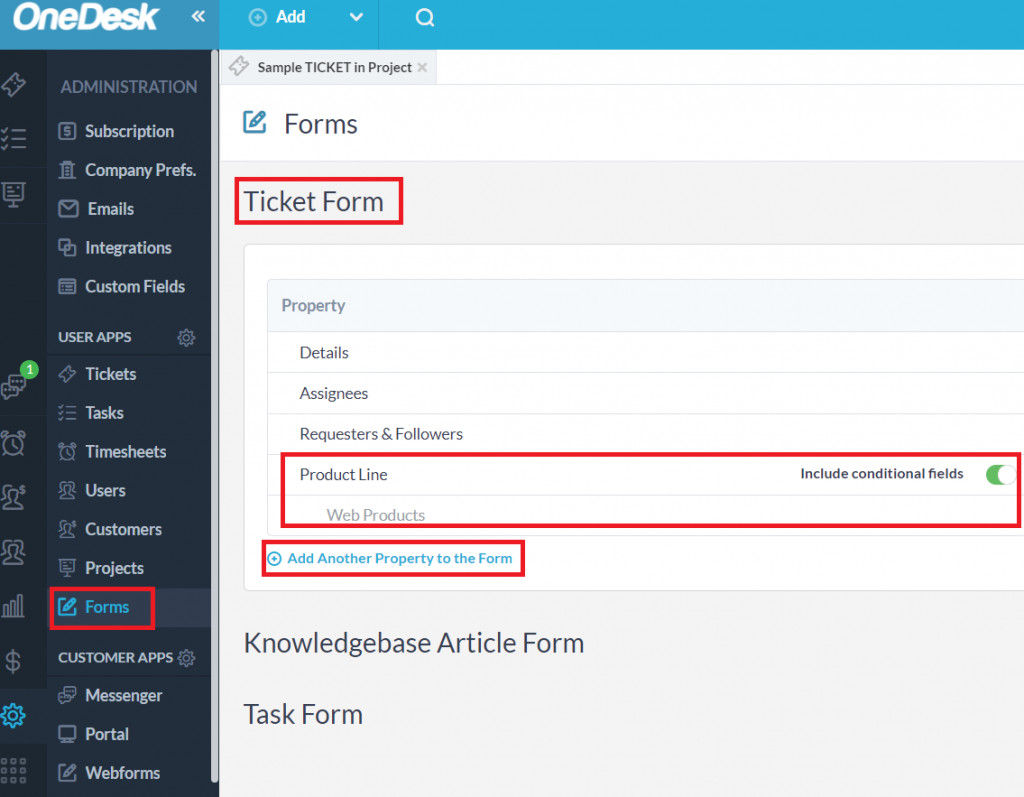
Now our custom field will display the conditional field on both the item’s detail panel and creation form when the correct option is chosen,
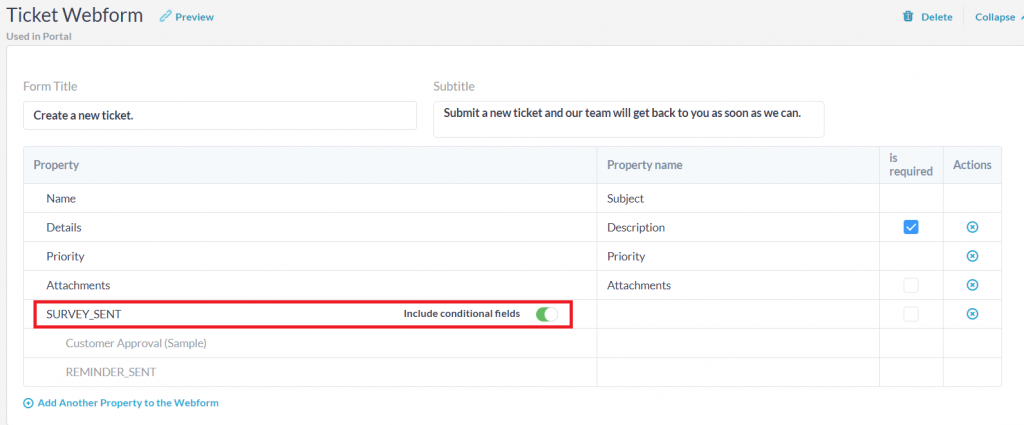
Webforms
To add a condition field to a webform submitted by your customers, go to More Applications -> Administration -> Webforms. Add the custom field that has conditions to the webform, and toggle on “Include conditional fields”.
These condition fields for webforms also apply to the webforms inside the Customer Portal. Make sure your webforms are enabled on the portal in More Applications -> Administration -> Portal.
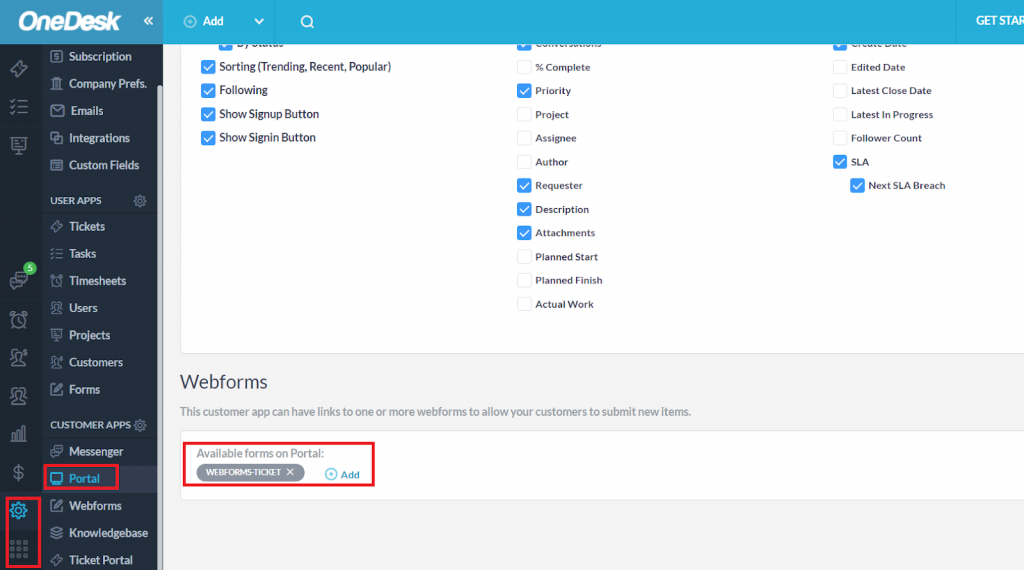
Now the webforms submitted by your customers have condition fields on both the standalone webform and through the Customer Portal.
Related articles