Updated: Aug 2022.
In OneDesk you can create a timesheet for each time you work on a task or ticket. Here’s how to customize that timesheet form.
Creating a timesheet
It’s easy to create timesheets in OneDesk. Do this by:
- Clicking “Add Timesheet” from with the ticket/task details
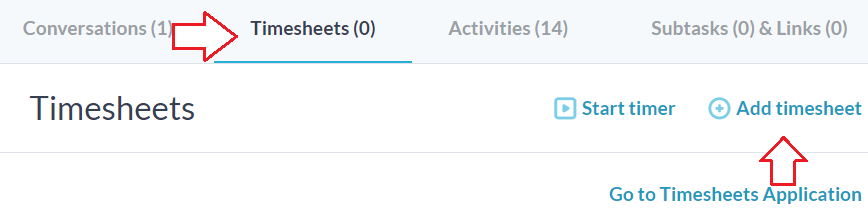
- Selecting “timesheet” from the “Add” menu in the top bar
- Running and stopping a task timer
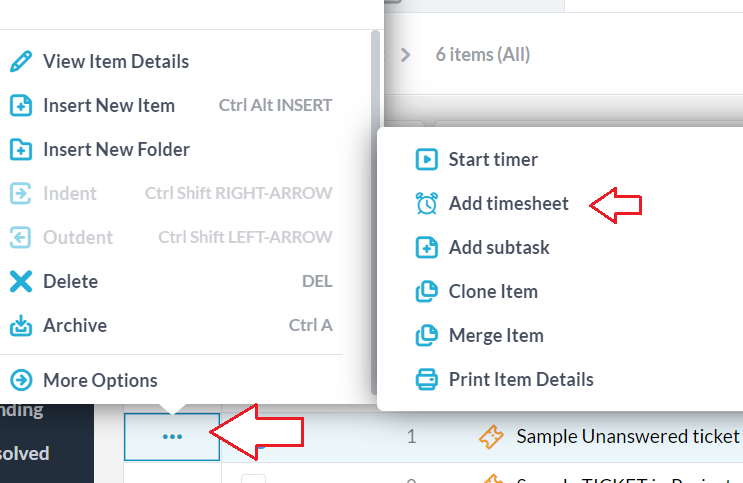
- Select ‘Add Timesheet’ from the task/ticket action menu on your dashboard.
In each of these cases, the timesheet creation form will open, where you can enter the details of the work you did.
The default timesheet form
The basic form allows you to enter details for the work performed, the new %complete, the date the work was done, and more. Depending on how you invoked the form, it may already be partly filled out for you with the selected task and the work performed.

Customizing the Timesheet form
You may find that the form asks too many questions or not enough, so you can configure some of what appears on the form. You can do this under ‘Administration > Forms > Timesheet Form.’
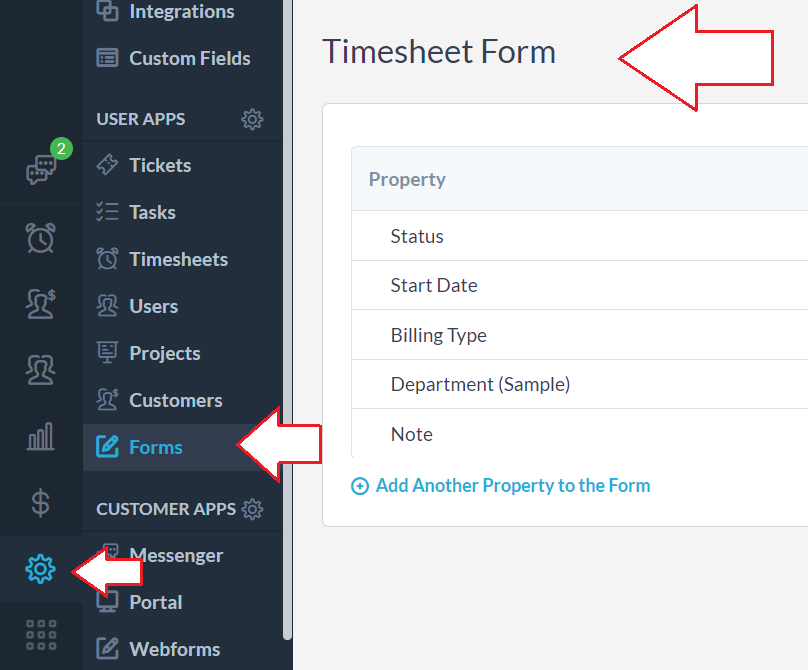
Here the account administrator can show or hide properties on the form. They can also choose whether a property is required or not.
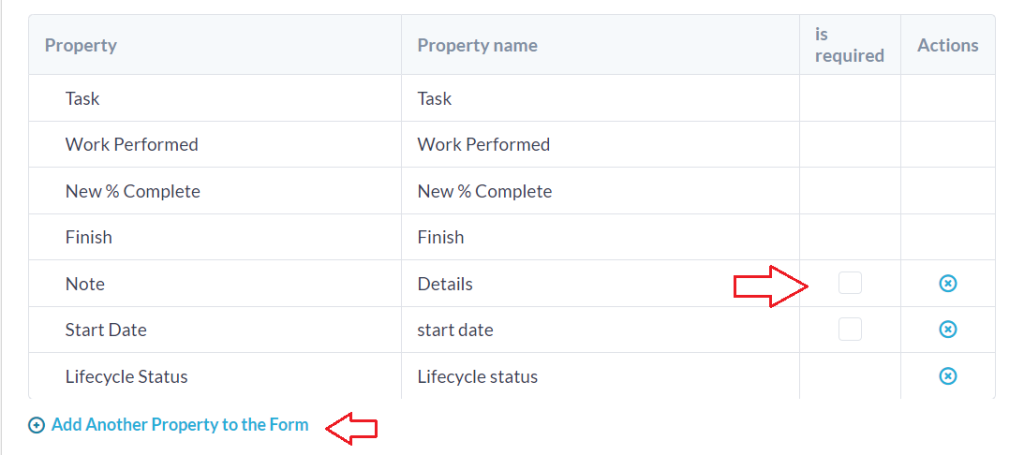
If you turn all the optional properties off you are left with the minimal timesheet form. These properties must always be on the timesheet form for the minimum data required to be collected. These properties include: the item which was worked on, the Work Performed, the New % Complete (though this can remain zero), and the Finish Date.
Adding custom properties to the Timesheet
In OneDesk you can create custom fields and attach them to Timesheets. Do this under ‘Administration > Custom Fields’
Learn about creating custom fields and conditional fields here.
Once custom fields have been created, they are available to be added to your Timesheet creation form, by simply toggling it on as per the above steps.
For example here are the steps to follow to create and add a custom property to your timesheets form:
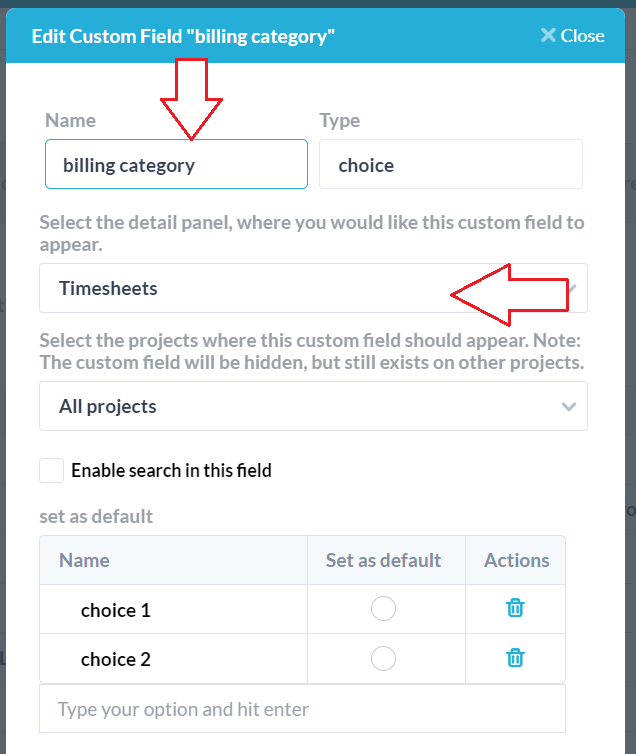
Select ‘Create Custom Field’.
I have created a custom field called “Billing Category” and added it to my timesheet detail panel.
When you view a Timesheet from the Timesheets application, the field will now appear.
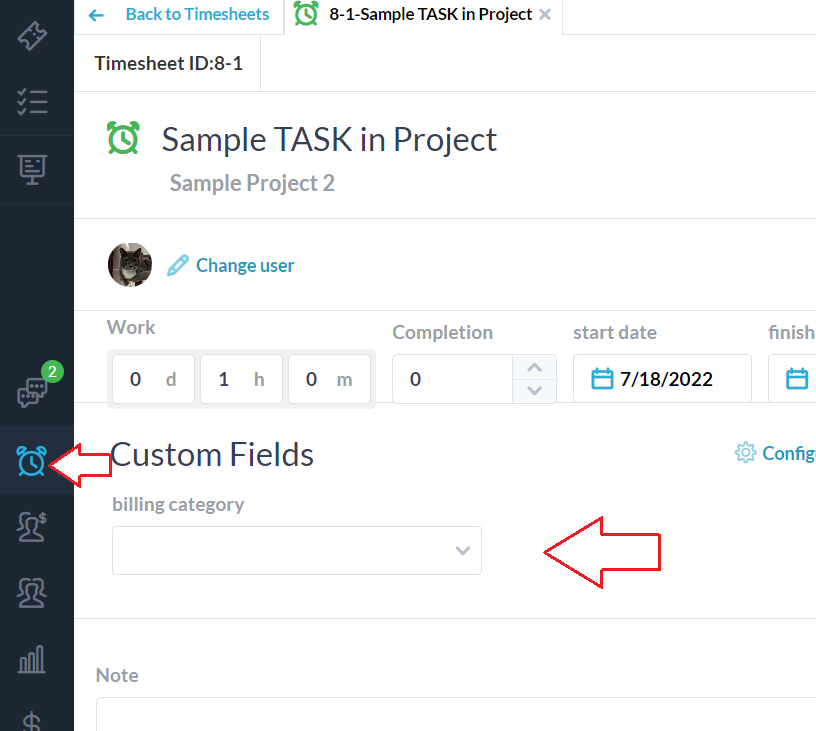
Note this will not add it to the submission form. You must add it to the submission form as per the above section.
Then when you submit the form you can also enter the ‘billing category’ of work.