Adding Support Channels
Onboarding guide contents:

Email to Ticket
OneDesk’s Quick Setup Wizard helps you connect your support email and includes instructions on placing the OneDesk customer apps on your website. If you haven’t already, click ‘Get Started’ in the top navigation of your OneDesk to complete the wizard. You can also access email connection from the Admin > Emails > Settings.
Here’s how the email to ticket flow works:
- Directly connect your support email.
- Tickets are created from new emails.
- All information is captured on the ticket including the customer’s name and email.
- Respond from the ticket in OneDesk, the reply will be sent to your customer’s inbox from the same email you connected.
Learn more:
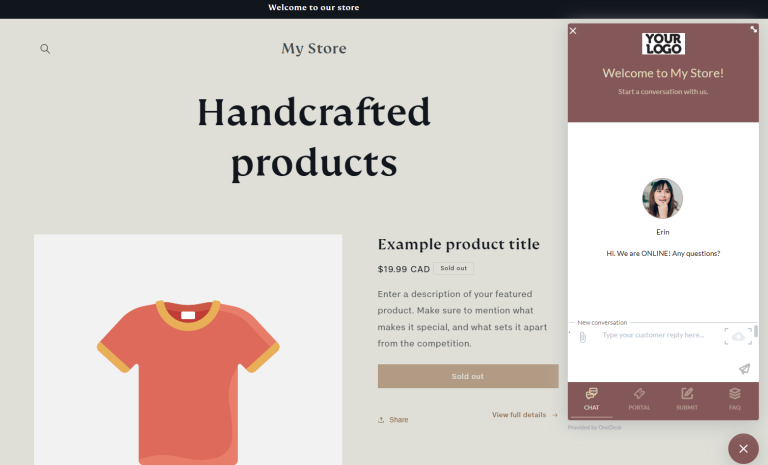
Deploying your customer applications
You can provide the customer-facing applications to your customers/end-users. These apps (Chat, Portal, Knowledgebase, Forms) provide additional support channels and self-service options.
Depending on your preferences, there are a few methods of deploying the apps. You can:
- Embed the web widget to your site by copying a snippet into your website’s code.
- Add the widget to your Shopify or Wix site.
- Utilize the WordPress or Joomla plugin.
- Provide the app’s URL to your customers (linked on your website, in an email signature, etc.)
See detailed instructions at: Adding the Customer Apps to Your Site
Once done, you can make changes to your customer apps from within your OneDesk admin settings. You will not need to make further changes to your site. For example, you can change the app colors, the fields on your webforms, the greetings on your live chat, or which apps are enabled or disabled.
Learn more: