

OneDesk allows you to create as many unique portals or knowledgebases as you need. You can use your portal to allow your customers or end-users to collaborate on projects with you or customize your ticket submission form. Here’s how to create a new portal and knowledgebase in OneDesk.
Creating a New Portal
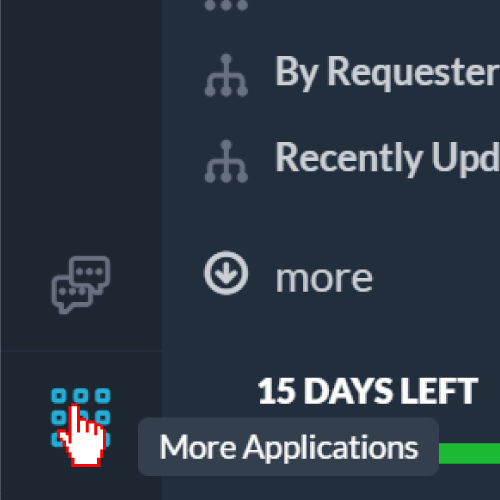
Step 1: In the bottom left corner, click the More Applications icon.

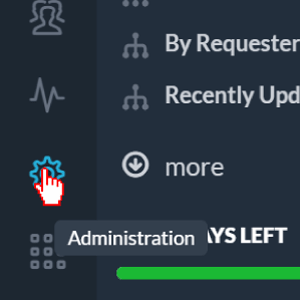
Step 2: From the icons, select Administration by clicking on the cog icon.
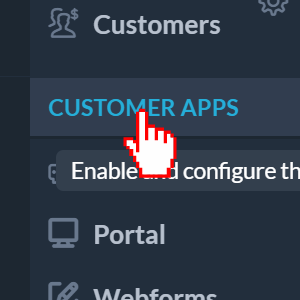
Step 3: From the list of applications, select CUSTOMER APPS.
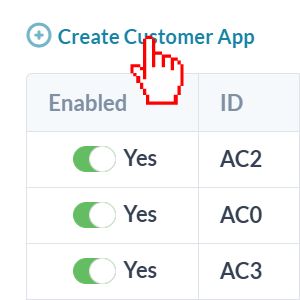
Step 4: Under the Customer Apps List, click Create Customer App.
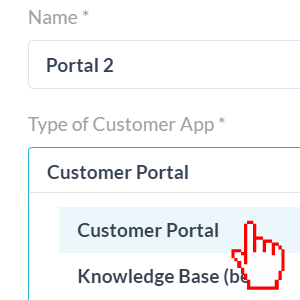
Step 5: Give your Customer Portal a name and select Customer Portal from the drop-down.
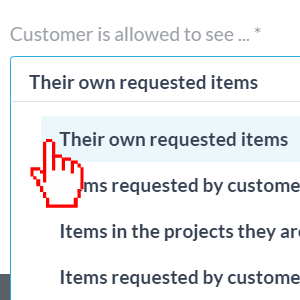
Step 6: Under ‘Customer is allowed to see…’, select what the portal user can see in the portal.
Step 7: Click Create.
Once you hit Create, if you kept Navigate to App Settings checked, you will be taken to the Portal’s settings page, where you can customize the portal to your needs.
Creating a New Knowledgebase
Step 1: In the bottom left corner, click the More Applications icon.
Step 2: From the icons, select Administration by clicking on the cog icon.
Step 3: From the list of applications, select CUSTOMER APPS.
Step 4: Under the Customer Apps List, click Create Customer App.
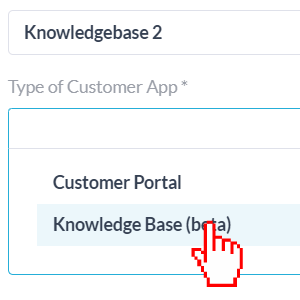
Step 5: Give your Knowledgebase a name and select Knowledge Base from the drop-down.

Step 7: Click Create.
Once you hit Create, if you kept Navigate to App Settings checked, you will be taken to the knowledgebase’s settings page, where you can customize the knowledgebase to your needs.
More Resources
Learn more about the customizability of OneDesk portals here.
Learn more about using OneDesk portals to allow your customers to collaborate with you on their projects here.