You can import users & customers into your OneDesk from .csv files.
Before Importing
There are a few things to know and/or do before importing users or customers.
1. Ensure that you really need to use the import function. Importing will bring in a lot of old legacy data that you may be better off without. As well, customer records are automatically created as customers submit tickets and send you emails. You may not need to import them at all.
2. Start by importing a test sample of a couple users or customers. This is to ensure that the data imports the way you want before you add it all.
IMPORTANT: If you wish to import old tickets/tasks and would like them to be linked to the correct corresponding customer, then ensure that you have that customer record first. If the customer is not already added into your OneDesk BEFORE you import tickets/tasks, then they will not be linked automatically.
If you wish to import old tickets/tasks and would like them to be assigned to the correct user, then ensure that you have that user record first. If the user is not already added into your OneDesk BEFORE you import tickets/tasks, then they will not be assigned automatically.
How to Import Users
An email address is a required property in order to import users. Other properties are optional but include: first name, last name, team, address details, and any custom fields. If you have data that does not easily map to the default fields, create a custom field on users before importing. (More about Custom Fields)
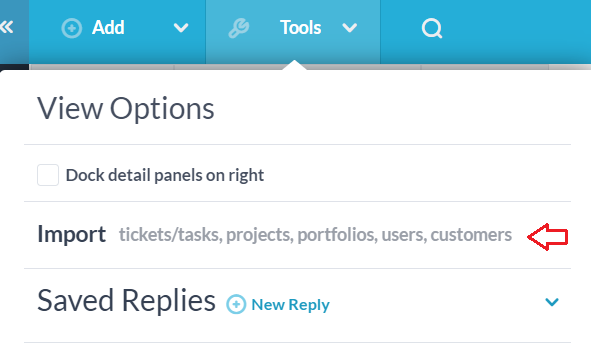
Step 1: Click Tools on the top bar
Step 2: Select Import
Step 4: Select ‘Users’
Step 5: Upload the csv file you wish to import.
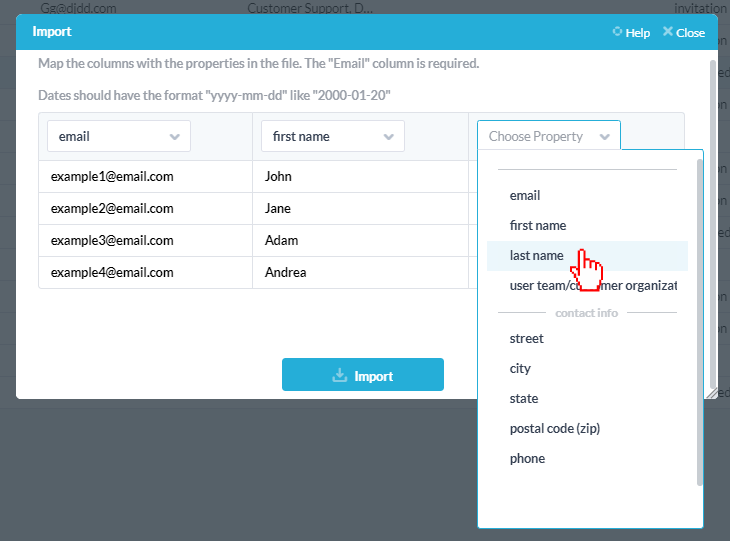
Step 6: Map the columns to the appropriate fields by selecting the field name from the dropdown menus. An email address is the minimum needed to import. When finished mapping, click Import, then Done.
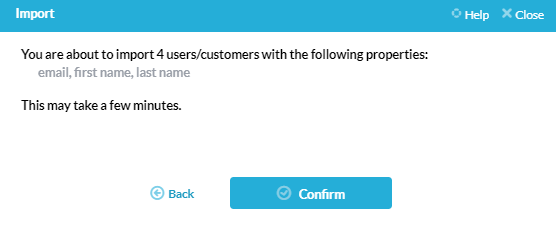
Step 7: Check over the information to ensure you have selected the correct properties.
Note: For dates, the proper format is yyyy-mm-dd.
How to Import Customers
An email address is a required property in order to import. Other properties are optional but include: first name, last name, customer organization, address details, and any custom fields. If you have data that does not easily map to default fields, create a custom field before importing. (More on Custom Fields)
Step 1: Click Tools on the top bar
Step 2: Select Import
Step 3: Select ‘Customers’
Step 4: Upload the csv file you wish to import.
Step 5: Map the columns to the appropriate fields using the dropdown menus. When finished mapping, click import, then Done.
Step 6: You are now done importing. You may close the notification window and the import will continue in the background while you work. It may take a few minutes to complete the import.
Step 7: Check over the information to ensure you have selected the correct properties.
Note: For dates, the proper format is yyyy-mm-dd.