OneDesk includes automated email templates to assist you in communicating with your users and customers. These email templates are completely customizable – you can edit the existing templates as you see fit, or create entirely new templates to suit your needs. Automations can then be applied to utilize your templates, allowing for a streamlined communication process for your organization.
Modifying email templates
To access the section of OneDesk where you can edit your email templates, first select the “more applications” menu, denoted by nine dots in square formation on the bottom left-hand side of the Onedesk interface. Next, select the “administration” cog, and select “emails” under the “administration” header.

On this screen, you can configure your automated messages and replies, your automated emails, and your system emails. To edit an existing template, simply hover over it with your mouse and select the pencil icon on the entry’s right-hand side. You can change as much or as little as you wish within an existing automation.
The first automated message you see under “automated messages & replies” is the only one which cannot be turned off. This is because this automation ensures that when a new message is posted in a conversation linked to an item, all the followers of the item are notified. Note that customer replies are sent to both users and customers but internal messages are sent to users only. This message is created through a unique process within OneDesk, not a workflow automation, and therefore it cannot be disabled.
You can edit the message that is inserted by this automation, but you cannot turn it off entirely. This is the only message that cannot be deleted as it is fundamental to OneDesk’s workflow.
However you can manage what you receive emails about in your User Preferences on your profile.

If we wish to edit the “new message is posted” automated message, we click the pencil icon on the side, and this will appear on screen:
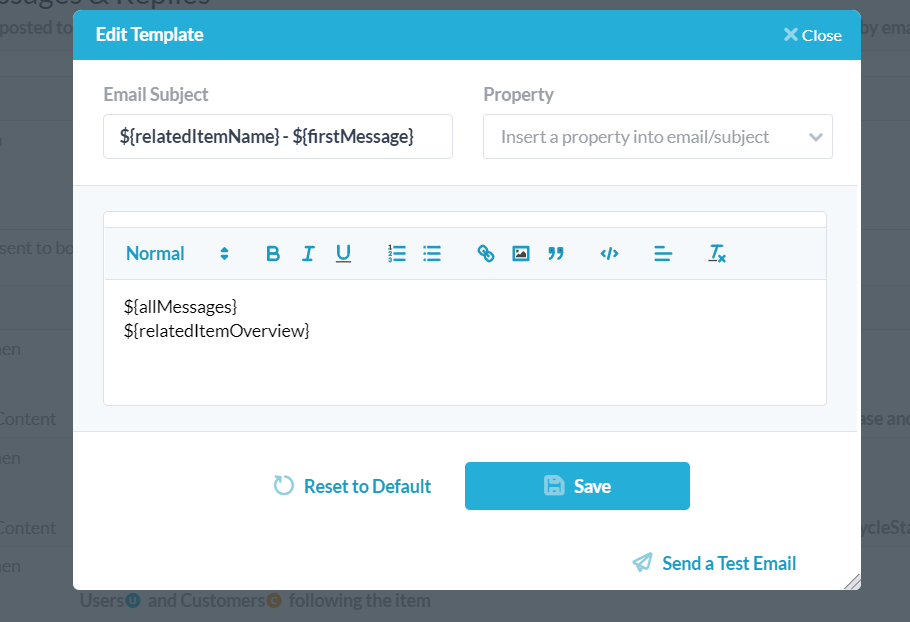
There are three separate fields on the editing screen – the email subject, the email body, and the “property” field. The property field lets you insert specific variables into your message. For instance, in the above example, the lines starting with “$” will all change depending on the parameters of your specific item or project that your message is attached to.
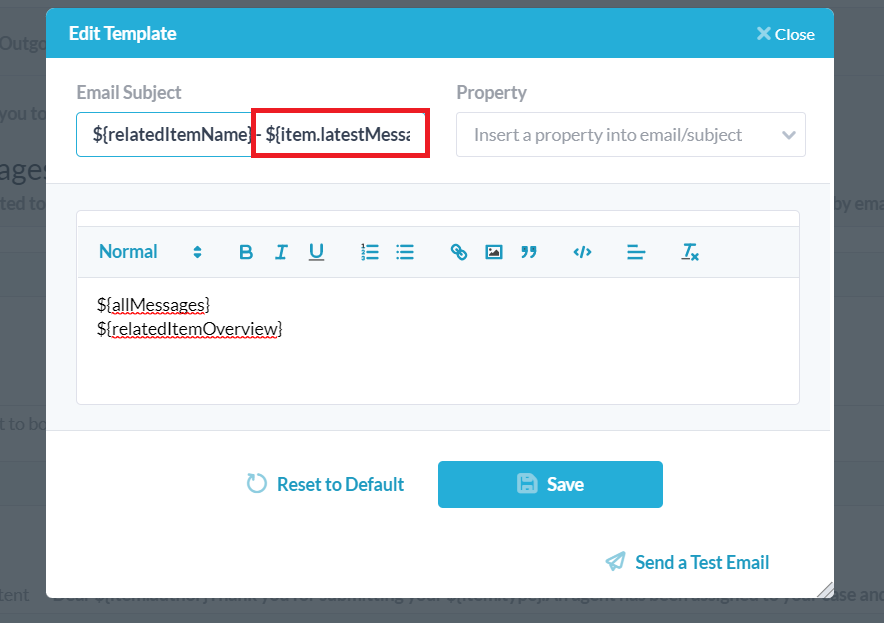
As an example, if we wanted to edit this automated message to respond to the latest message instead of the first in the subject line, we remove the “$(firstMessage)” property, and insert the “latest message” one from our list of item properties. Our new message template looks like this:
You can send a test email to check out the changes, reset it back to its default settings if need be, or, if you are satisfied, you can save the changes and you are good to go.
Creating a new email template
To create an entirely new automated email template, select the “create email template” option on the top-left of the “automated emails” section. Once done, the following screen appears:
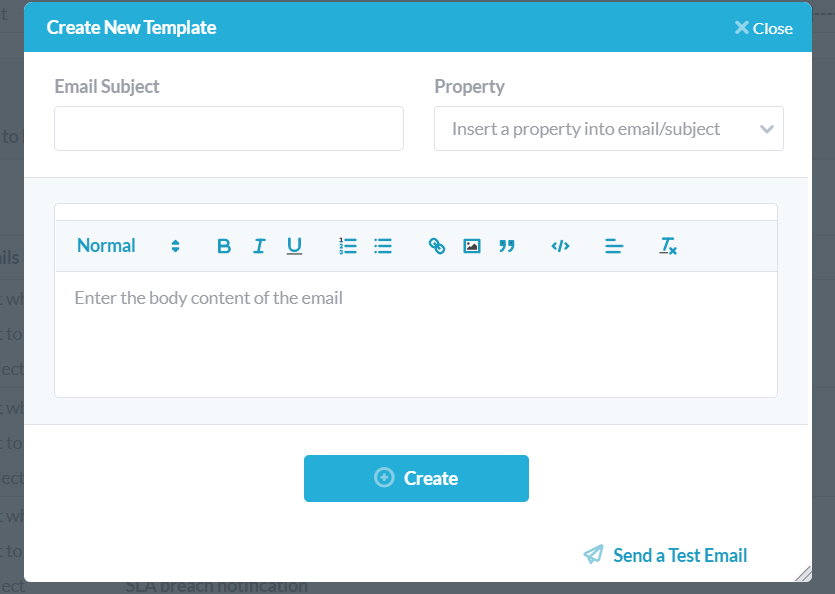
On this creation screen, you can select what you wish the subject to be, what to include in the body of your email, and what properties to use. Let’s create an email template for an item when its lifecycle status is updated. We want the item’s name and lifecycle status to be variable in this example, so we select “item name” and “lifecycle status” under the “item property” section of the drop-down menu. A sample message could look something like this:

Once this template has been saved, we can add it into our workflow automations to notify the desired recipient of their item’s lifecycle status changing. This template will be disabled until it is attached to an automation – once it is used in an automation, the specific automation will appear beside the template in brackets. You’ve now created your first email template.