While OneDesk offers a full-featured customer portal which you can put on your website, sometimes our users are looking for something a little simpler. We are often asked how they can put a simple ticket submission form on their website without the rest of the portal.
Often our users are at the stage where they want to move past simple email-capture to create tickets. This can be for a variety of reasons but by far the most common rationale is that they want to ensure that their customers submit all the information required when submitting a ticket. This saves them from wasting time extracting the needed info piece-by-piece through a series of emails.
Here is how you can set up OneDesk to capture tickets using a simple submission form.
1) Under “Administration” select the “Webforms” page and expand the “Ticket” form.
This is where you can modify the ticket form to meet your needs. Here are some of the things you can do.
- Give the form a title and subtitle
- Add and remove ticket properties to the form
- Change the labels for those properties and re-order them
- Add custom properties to the form (You must have already created these custom fields in “Administration > Tickets”)
- Decide what properties are required for the customer to be able to submit the form. Note that custom properties that have default values set cannot be required, since they will never be blank.
…

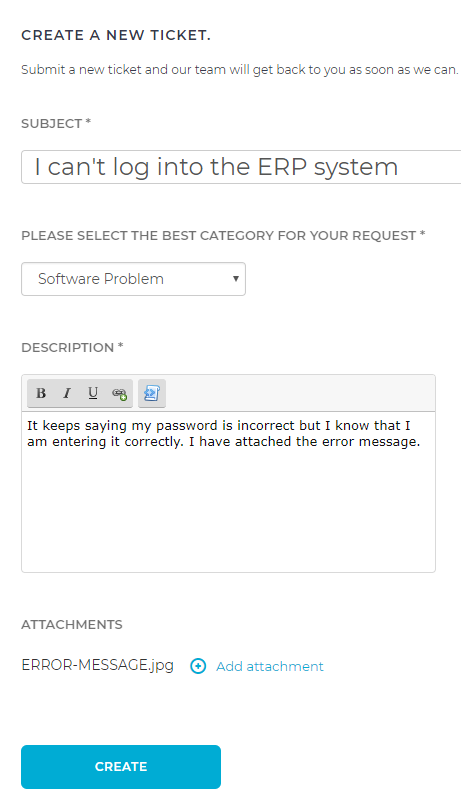
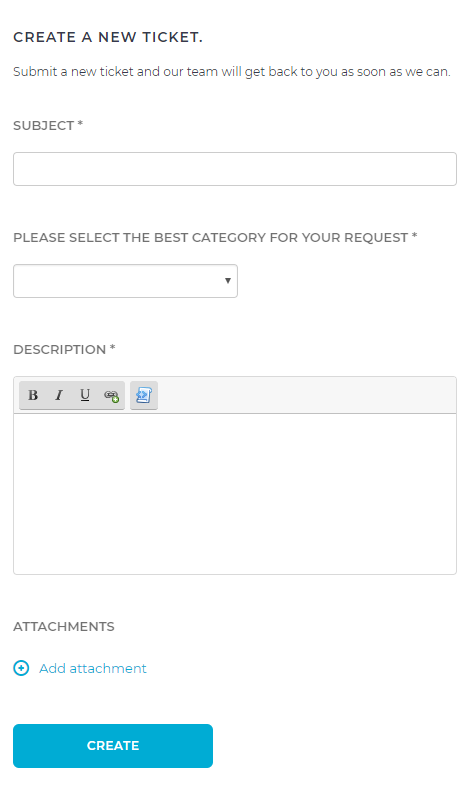
2) Click on the link icon beside the ticket form… … and this will open it in a new browser tab, in the way a customer would see it.
This is the URL that you will link to, from your website, to provide your customers with the form. Alternatively you could provide this link directly to your customers.
…
3) Other settings you can change:
At the top of the Webforms settings page, you can:
- Require a customer to login before accessing the ticket form.
- Allow or prevent anonymous visitors to attach files
Some things to know:
You can have multiple different forms (up to 30) so that you can ask your customers to submit different forms under different circumstances. Each form will create a new type of item in OneDesk. For example you could set up 3 different forms for 3 item types: “HR request”, “IT request”, and “Service request”.
You can ask OneDesk to automatically take action when new items are received. For example you can have new “HR requests” be placed into the HR project, be assigned to Jill, and automatically responded-to with a specific email. You could treat the other types of items like “IT requests” and “Service Requests” differently.
You can ask the customer to submit tickets directly to the appropriate project by adding the “projects” property to the form. Then you can change the label on the project property to ask a short question, which is answered by the project name.
In the example below, I changed the project label to “Please select the best category for your request” and then selected a few projects for them to choose from: Hardware Problem, Software Problem, or User Training