In OneDesk there are a large number of options that allow you to configure the software to behave in just the way you want it to. However, most of these options are non-critical and only need to be tweaked along the way, as you decide you want to change the way some things work. Out-of-the-box, OneDesk is almost ready to go to work for you, but you do need to take a few actions and provide a bit of information to get fully configured. That’s why OneDesk comes with a ‘Quick Setup’ wizard to get you up and running as quickly as possible. It should take you less than 5 minutes.
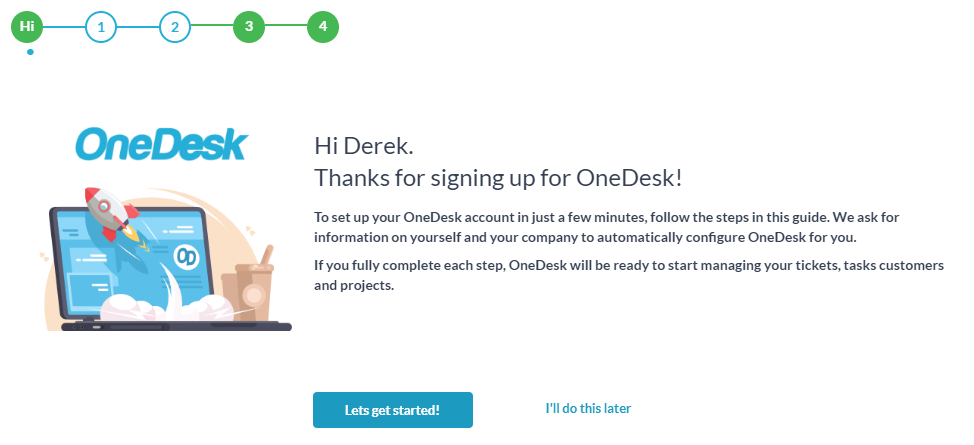
Step 0 – Thanks for signing up.
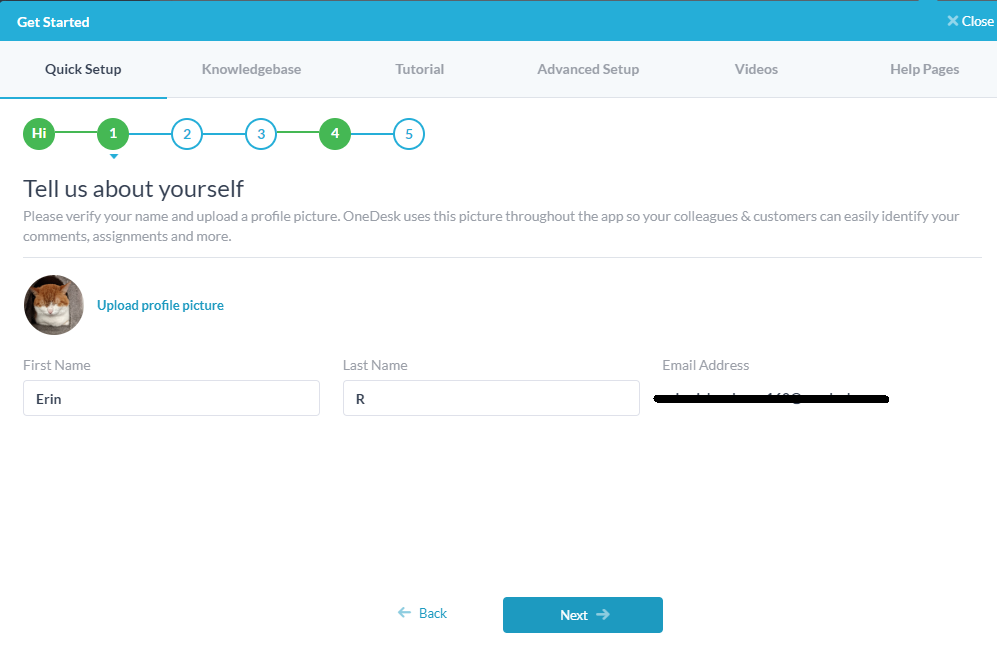
Step 1 – Tell us about yourself.
What information you need to complete:
When you signed up, we already captured your name and email address. On this step, you can correct any typos and most importantly add a profile pic.
How it is used in OneDesk:
We use your name and profile throughout the app. You will see it when you are assigned, when you make a comment, and in the top right corner of your screen when you log in.
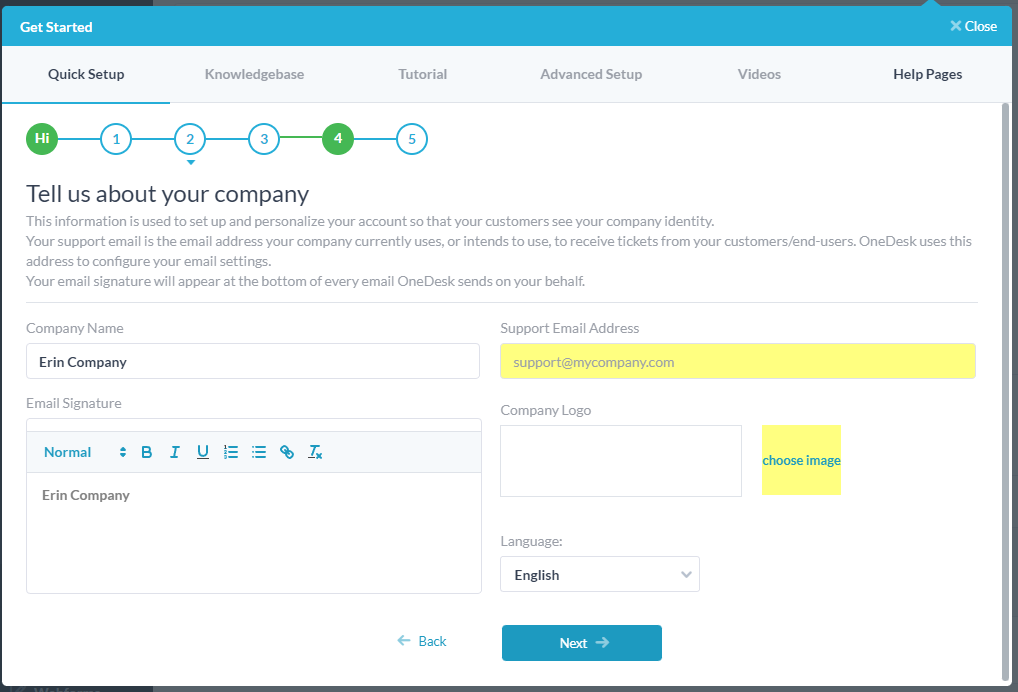
Step 2 – Tell us about your company.
What information you need to complete:
We confirm your company name, and ask you for your ‘support email address’ (the email address your customers/end-users currently send support requests to), email signature, and company logo.
How it is used in OneDesk:
Your company name and logo are used to identify your company to your users and customers in your emails, customer portal, chat app, reports, and more. It is important to fill this in to provide the best experience for your customers.
The ‘Support Email Address’ is the email address you currently receive support requests from. We use this to set up your email configuration and to prevent email loops from occurring.
Your email signature is used at the end of every email we send on your behalf. You can put what you want here, but generally it contains your company’s contact information.
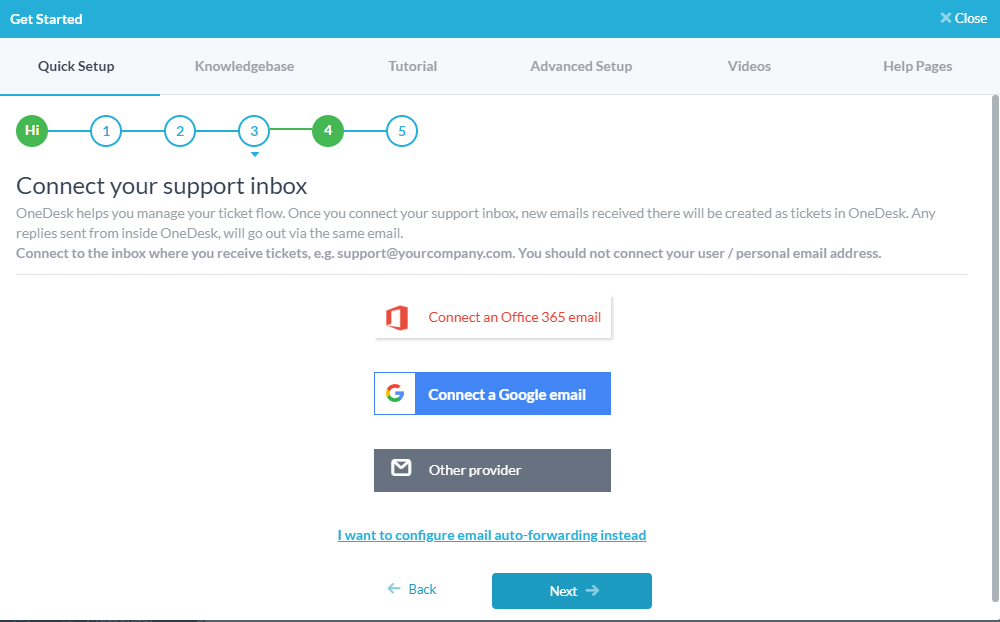
Step 3 – Connect your support inbox
What information you need to complete
Connect your support email from here. If you use O365 or Google/Gmail you can directly integrate your email. If you use another provider you can use the auto-forwarding method to create tickets. Click Other Provider to send the instructions on auto-forwarding.
How it is used in OneDesk
New emails you recieve to your support email will be created as tickets in your OneDesk account. Note: your customers will begin receiving automated replies about their tickets.
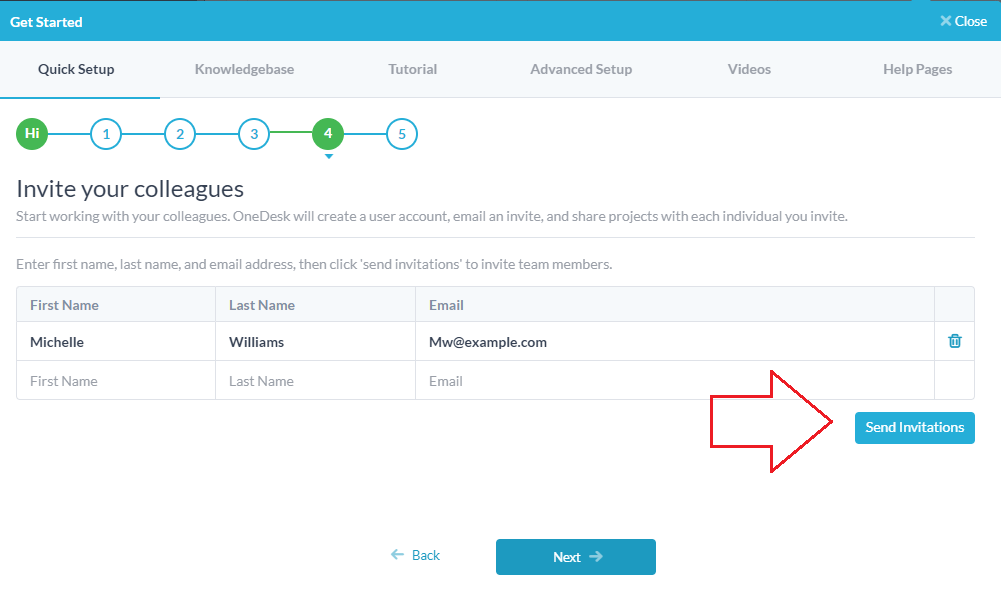
Step 4 – Invite your team
What information you need to complete:
Here you can add the first name, last name and email addresses of the team members you work with. Specificially, you should invite ‘agent’, also called users – the people answering tickets, responding to customers, etc. Unless you work alone, you will want to get others on-board to help you support customers, collaborate and work on projects together.
How it is used in OneDesk:
When you click “Send Invitations”, we send emails to your team members with a link for them to sign into their OneDesk accounts.
Final Instructions
What information you need to complete:
Here we just ask for the email address of a technical person (it may be you) to whom we can send the instructions on how to set up your customer applications.
How it is used in OneDesk:
We send an email with the instructions to the email you provide. These instructions tell how to put your customer supports apps on your website. You can re-send this email later if you require, but please allow a couple of minutes for the email to arrive (don’t worry, it’s on its way). The email describes the following:
Putting the Customer Apps on your website
To put the OneDesk customer apps on your website, just add the following script to one or more pages of your website before the body closing tag :
If you would like the apps on all pages of your website, we recommend adding the script to your page footer. If your website is on WordPress, you could use the WordPress plugin. If your website is on Joomla, you could use the Joomla plugin. You can read all about the customer apps on the OneDesk Knowledgebase.
After these steps are complete, your OneDesk account is fully set up. If you need assistance in completing these steps please do not hesitate to reach out to us at support@onedesk.com. Learn more about getting started with OneDesk from the Knowledgebase or Video Guide.
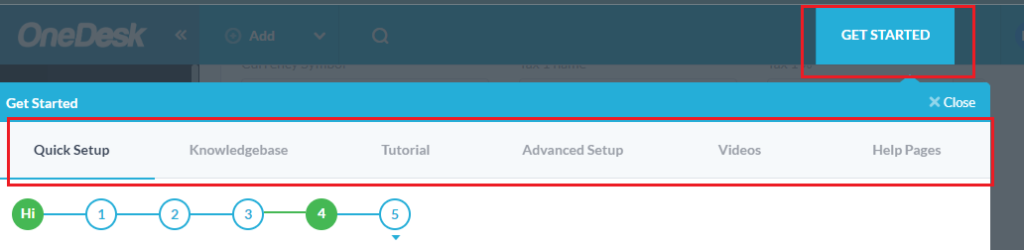
Make sure to check out the other tabs in the Get Started Wizard. Here you can access tutorials, video, help pages, and more. You can access these any time by clicking ‘Get Started’ next to your profile.
The OneDesk Team
Toll-free: 1-855-ONE-DESK (663-3375)
Tel: +1 514-731-6878
support@onedesk.com
www.OneDesk.com