Saved replies can be set up in OneDesk for your agents to use. These saved replies allow your team to be able to respond faster to commonly asked customer inquiries by inserting pre-written responses. You can set up a repository of saved replies for your users to be able to make user of. Using saved replies can:
- Save time your team would otherwise spend typing out responses
- Ensure accuracy and consistency in answering common customer requests
- Maintain company tone and voice
- Avoid mistakes when writing customer names, item IDs, etc. thanks to dynamic properties
Table of Contents
About Saved Replies
Create a New Saved Reply
Use Saved Replies
Edit an Existing Saved Reply
Mass Reply with Macros
About Saved Replies

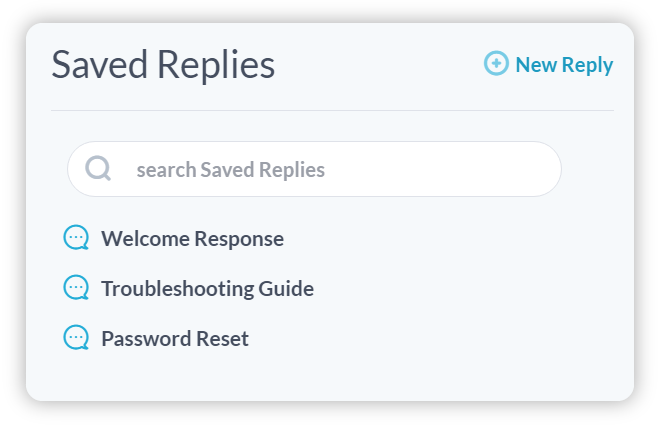
Saved replies are global saved messages that any internal user within your company can use. Users are able to use the search to look through the repository of saved replies and find the one they need quickly.
These saved replies can have ‘dynamic properties’. These are properties that you can insert into the message, that will automatically populate information such as the ticket ID, the lifecycle status, and more. Read more about dynamic properties here.
Create a New Saved Reply
You can create as many saved replies in your OneDesk as you need. To create a new saved reply, follow these steps:
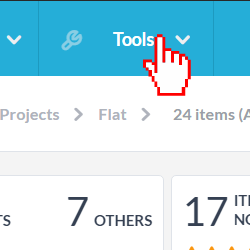
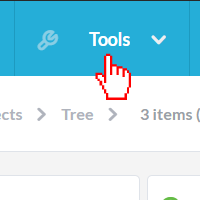
Step 1: Click Tools in the top navigation bar.

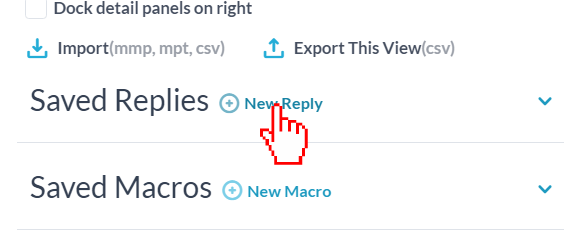
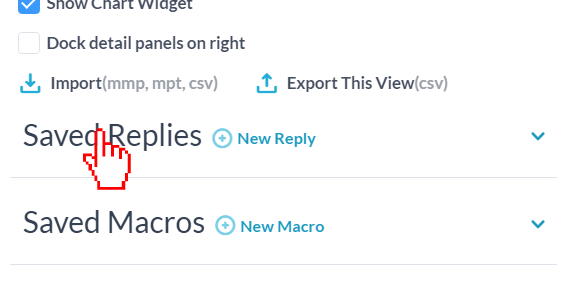
Step 2: Click New Reply next to Saved Replies.

Step 3: In the conversation box, type out the message you wish to save. You can add text or images to your saved reply. You can also click Insert Property to add dynamic fields. Learn more dynamic fields here.
Note: Selecting Internal Messages or Customer Replies will ONLY affect the saved reply if it is being used by macros. You will be able to use this reply in either type of conversation if you insert the saved reply manually instead of with macros.
Step 4: Once you have your reply written out, click Save This Reply at the bottom.

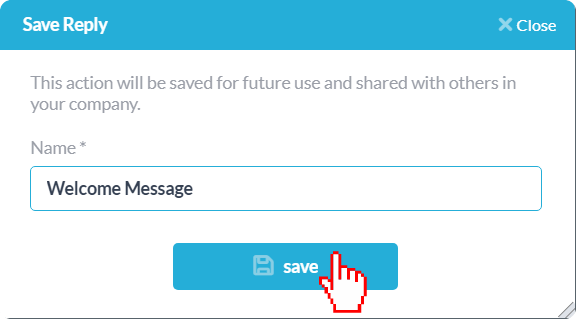
Step 5: Give your Saved Reply a name. Your users will be able to search for this name.
Step 6: Click Save.

Use Saved Replies
You can use your saved replies from any conversation in OneDesk, internal or external.
Once you are in the conversation you want to use the saved reply in:
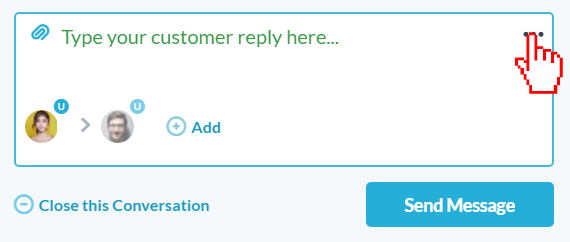
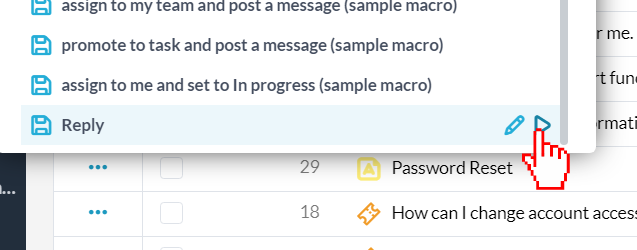
Step 1:: Click the three dots icon on the right hand-side of the conversation text box.

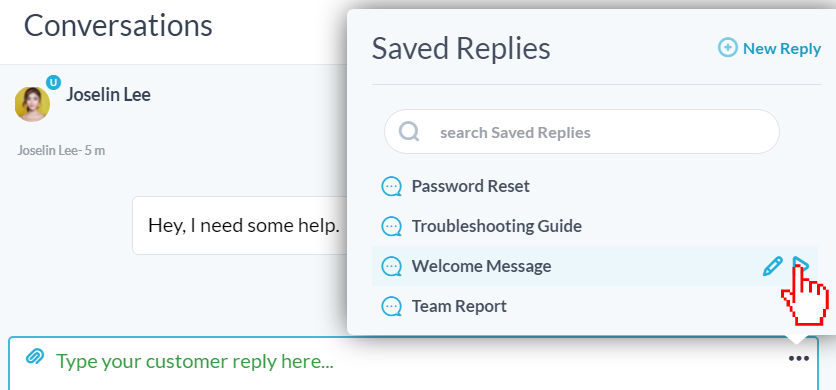
Step 2: Hover over the saved reply you wish to use and click on the triangle play button.

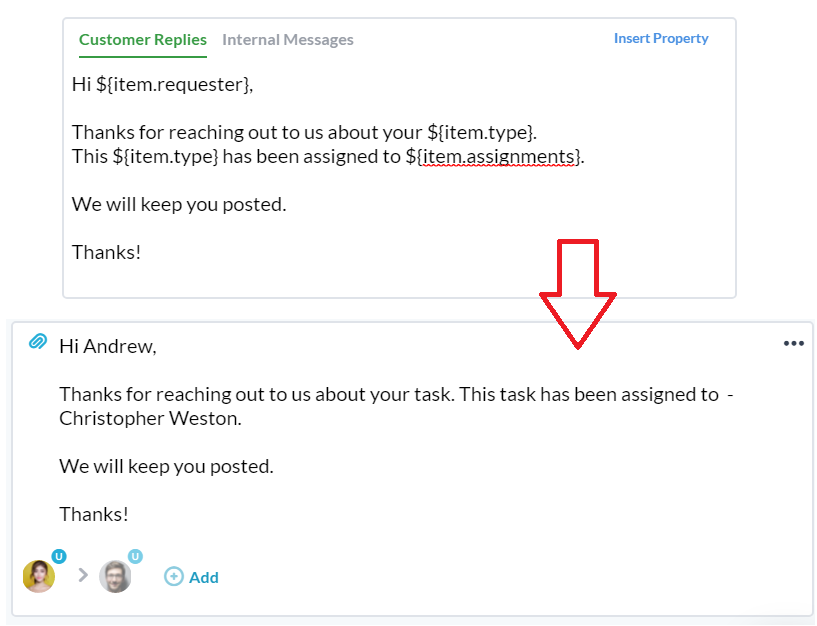
Any Dynamic Properties that are in the saved reply will automatically be populated into your text box in the conversation.

Step 3: Edit the message if you need to and click Send Message.
Edit an Existing Saved Reply
Step 1: Click Tools in the top navigation bar.
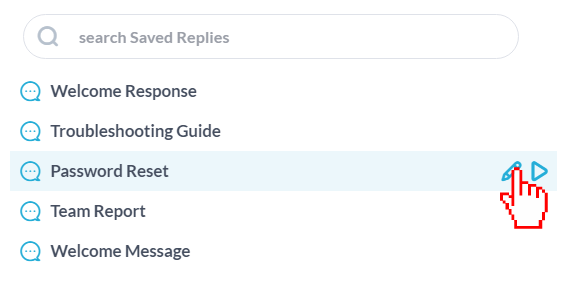
Step 2: Click Saved Replies to view all your saved replies.

Step 3: Hover over the saved reply you wish to edit and click on the pencil icon.
Step 4: Make the necessary changes and then click Save This Reply.
Step 5: Keep the name the same and click Save.
Mass Reply With Macros
You can save replies and send them in multiple conversations on more than one item at once.
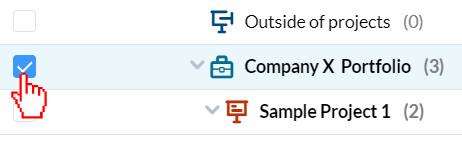
Step 1: Make sure that you only have your organization portfolio selected, or a non-item.

Step 2: Click Tools in the top navigation bar and, next to Macros.

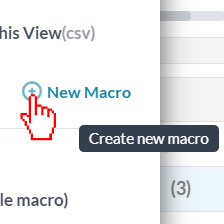
Step 3: Click New Macro.
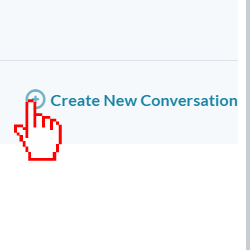
Step 4: Next to ‘Conversations’, click Create New Conversation.
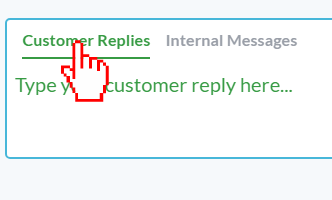
Step 5: Select Customer Replies or Internal Messages based on who you want to send these replies to. Note: You CANNOT change or review which conversation your messages will go into once you have saved this macro, so make sure to select the right one.

Step 6: Type out the reply you would like to send. Make sure to add all the dynamic properties that you would like to use by clicking on Insert Property.
Step 7: Click Save This Macro and give it a name.

Step 8: Click Save.
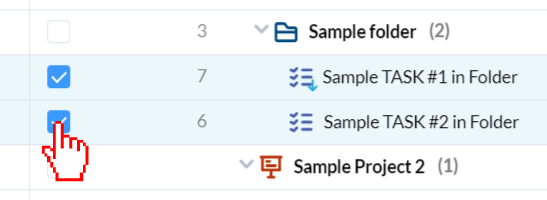
Step 9: In the application you want to send these replies to, select the items in which you’d like to input these replies.

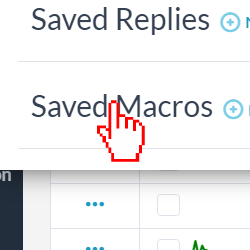
Step 10: Click Tools in the top navigation bar.
Step 11: Click Saved Macros to view a list of your existing macros.
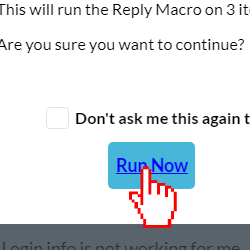
Step 12:Click the triangle play button next to the reply macro you created.

Step 13:Click Run Now.