This is part of an ongoing series where I go over the basic account configurations for different types of businesses.
Some companies are very contract-driven and only perform work when customers are asking and paying for it. This article discusses the basic setup you should make to your OneDesk account if this describes your company.
To describe this setup we will use an example of CustomerA who has contracted with you to work on a series of projects Project1 and Project2. You also have CustomerB for whom you do other projects and these 2 customers should not see each others’ tasks or tickets. In this example we will also assume that you are billing for the time spent on a project but also for any support activities that you perform for these customers.
1. Creating the project structure to support this setup.
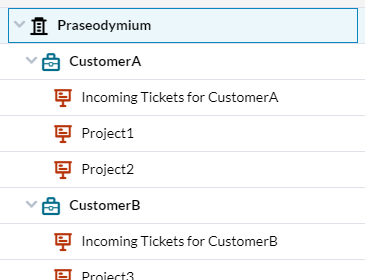
For each customer you will need to create a Portfolio inside OneDesk. Inside each portfolio you will create projects for the work you are doing for that customer. A common setup also includes a project for incoming tickets for that customer.
You can create these projects and portfolios under the Projects Application found in the left bar. You can drag and drop them to re-arrange them from here too.
2. Configuring the Customer Portal.
If you want to provide an interface for your customers or end-users to collaborate with you on their projects, OneDesk has you covered. Here’s how you would set it up to work with them on a project-basis. Go to Administration > Customer Portal
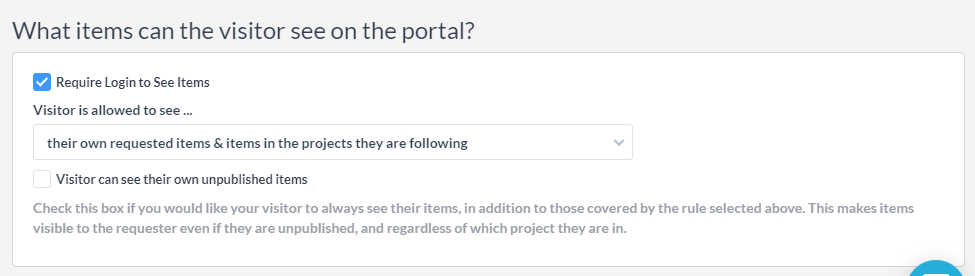
Check the box: “Require Login to See Items”
Select: Visitor is allowed to see… “their own requested items and items in the projects they are following”
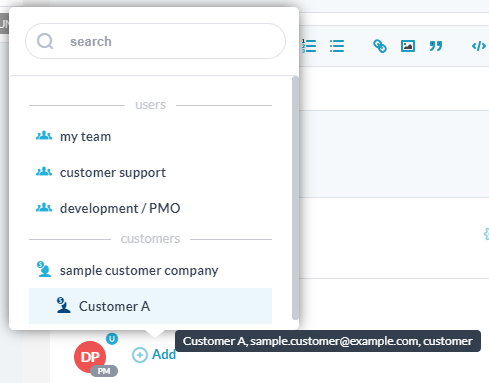
Now the last thing you need to do is to make sure that you have added the customer to the projects you want them to see. You can do this on the project’s detail panel by adding the customer as a follower of the project. Do this for every project you want them to see.
If there are multiple people that you need to share multiple projects with, you can do it all at once using the share project popup.
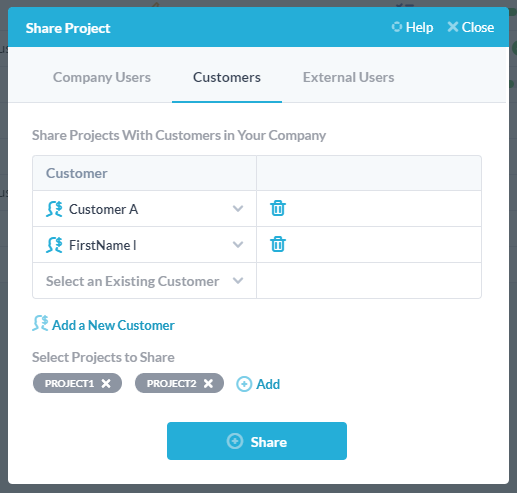
Now when your customer visits the portal they will see the tickets and tasks that are in the projects shared with them.
3. Setting up the support workflow.
When customers submit new tickets (or tasks) you will want them to be properly handled. For example you may want to pipe them into the correct project, and assign them to a specific team. Here’s how you set that up. Create the following rule under Administration > Tickets > Workflow Automation > Create Workflow Automation

This automation identifies tickets that come from emails from a specific domain and place them in the “Incoming Tickets” project for that customer. It also assigns the ticket to the customer support team. There are many other things that can be done here, including sending an auto-response, changing the status, and much more.
If you would prefer to use the web form submittal instead of email, you can permit the customer to choose which project they go into by including the project property on the form. If you do this approach remember that the automation described above will override this, so make sure it is disabled. You can set this on the ticket form under Administration > Web Forms .
4. Tracking your time and accounting for your work.
A common business requirement of many of our users is to be able to track the time they spend on various tasks, tickets and projects. This is often because their work may be billable and they need to provide an accounting to their customers and generate a detailed invoice. OneDesk handles this requirement by providing 2 ways of tracking time: By using a timer, or by submitting timesheets (or both).
When a team member works on a ticket or task they can start a timer. This timer runs until it is stopped, and then pops up the timesheet creation screen. The user then can adjust any details, and click submit.
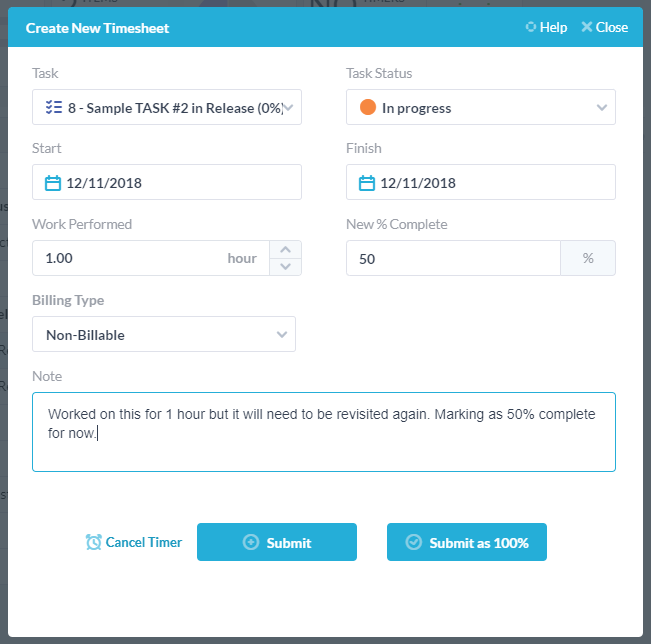
In the example above, the time captured the work performed, and the user updated the %complete and added a note. They can also select if it is billable or non-billable, change the status, or modify the dates.
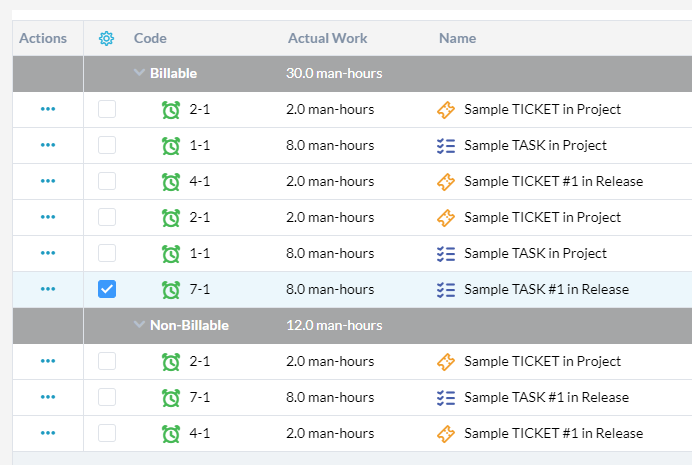
When the timesheet is submitted, it is saved and can now be found under the timesheets application (located in the left side-bar). Inside this application you can filter, sort and group your timesheets to get the data you need. You can also export your timesheets, or generate reports.
5. Automating pieces of the workflow.
As described in section 3 above there are lots of ways you can automate pieces of your workflow. This is done using the “workflow automation”, “SLA” and “macro” features and will help you perform you work faster, and with fewer errors. If you have performed the above setup then I recommend using the system for a while and automating the various steps when the need arises. This way your understanding of the workflow will grow along with your usage-level. It is possible to build a highly personalized workflow in OneDesk using these tools, and our team is ready to help you set this up.
This use case perfect fits with our needs, but due to their policies our customers needs also to receive an email with a PDF of Timesheet, I search to setup it on workflow but it seems that there isn’t a way to trigger a timesheet event.
Can you suggest me another way?
Hi.
You can’t automatically send a PDF of the timesheet to the customer, but you do have a few options that might work for you:
– Expose the actual work spent on the details of the ticket in the customer portal. This way the customer can see the total hours on the customer portal.
– Manually export the Timesheets from the timesheets application. Create a view for this requester’s timesheets, and click “Tools > export this view”. This gives you a CSV which can be opened in Excel (and can be exported to PDF from there if you required it).
– Schedule a report to be sent to the customer on a periodic basis. First define the report template to include only those timesheets that are for the customer. The create a schedule for that template to send the report by email. You can send Daily, Weekly, Monthly, etc.
I hope this answers your question. If you would like some help in how to set these up please don’t hesitate to chat with our support team.
Nowadays this article is attracting mostly everyone about the project on onedesk to work with customer.It is one of the best articles. It is a pleasure worth reading this article. Keep sharing such informative articles in future, will be appreciated.