In OneDesk you can trace your workflow automations through the activities application. This lets you see just what your automations are doing on a day-to-day basis, and helps you troubleshoot any issues that may arise.
Accessing the activities application
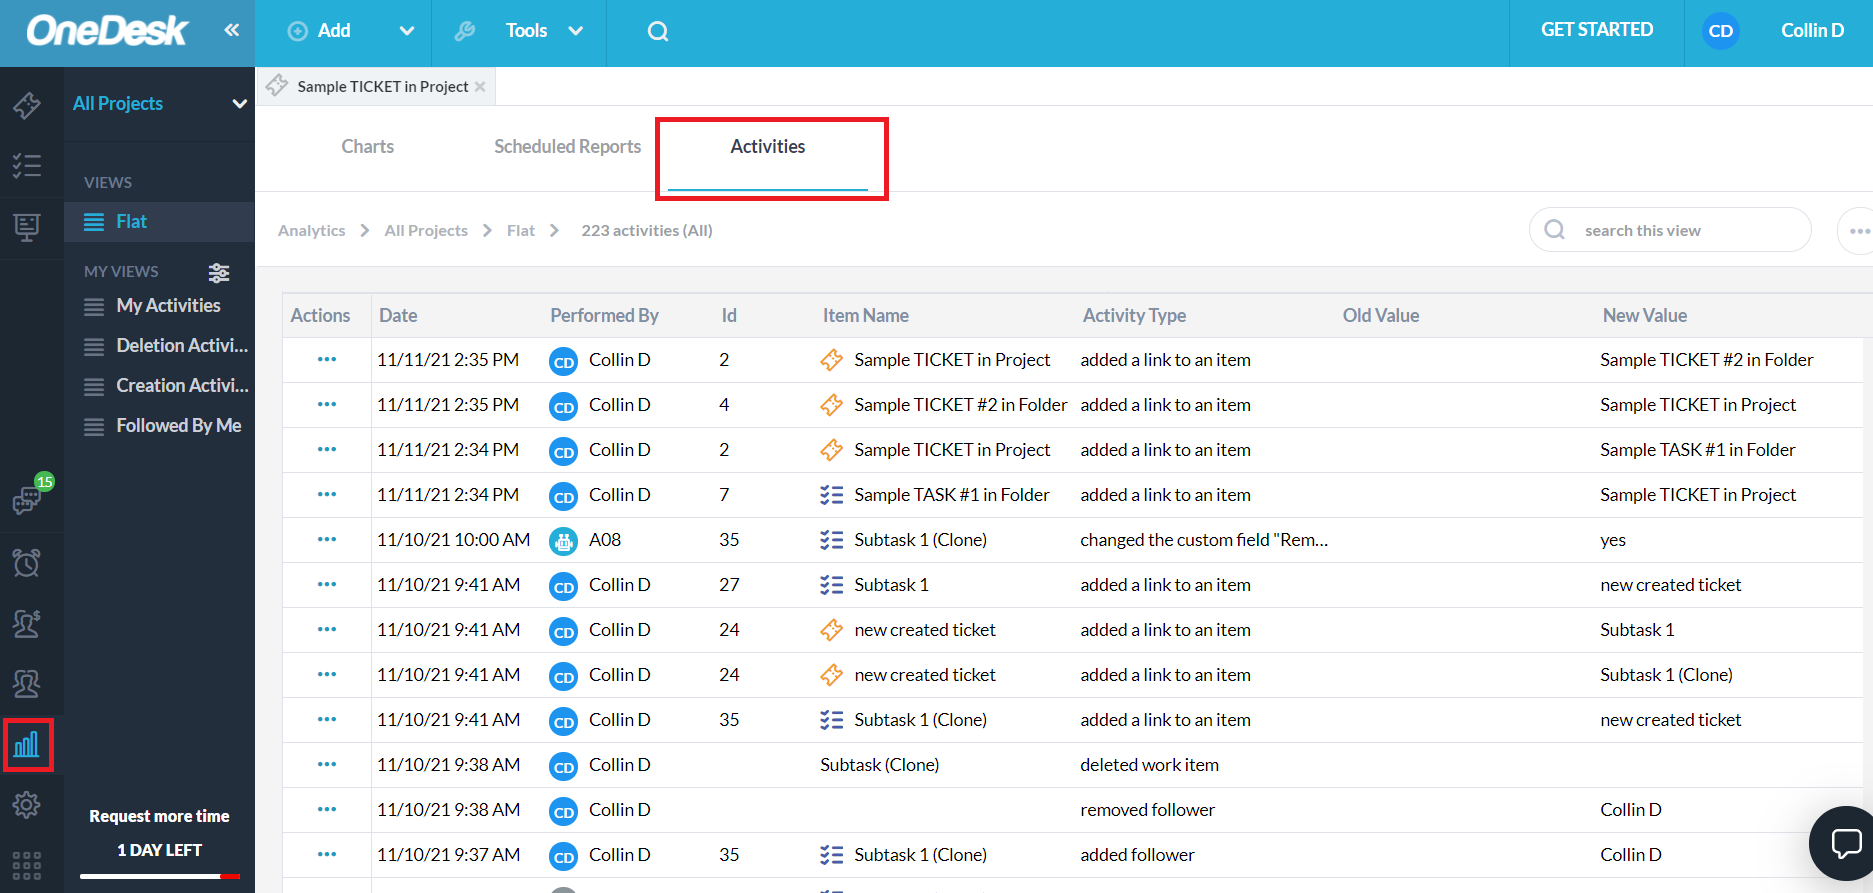
To access the activities application, select the “more applications” button the bottom-left of the OneDesk interface. Next, select the “analytics” application, and choose the “activities” tab near the top.
Tracing your automations
From the activities application, we can see by default the ID of an automation which has been performed, the affected item name, activity performed, the changed value, and the new value.
For example, we see that we have automation A16 below:
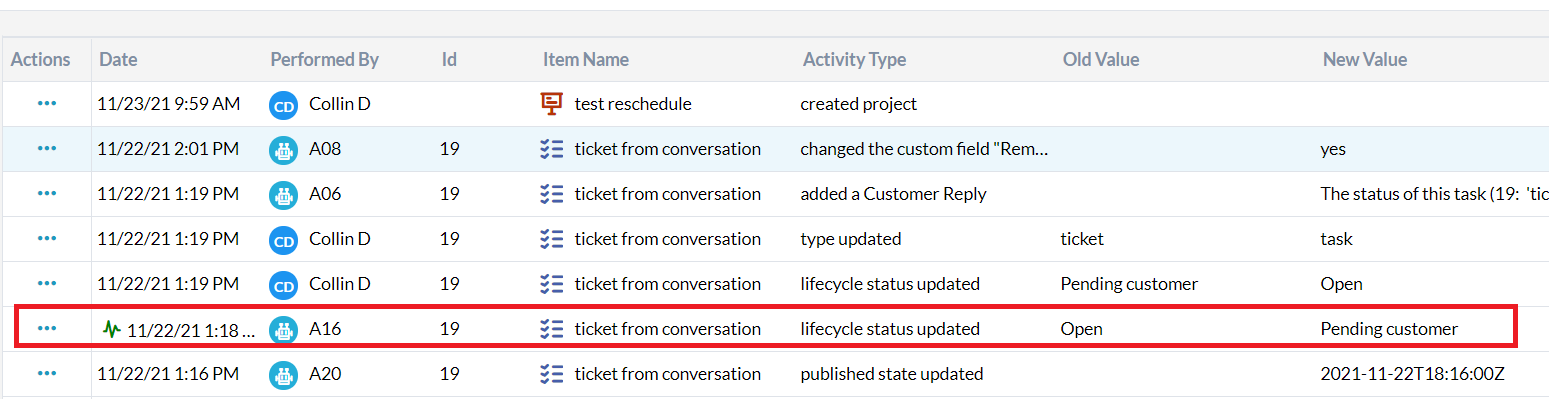
Automation A16 has ran on the task “ticket from conversation”, changing its lifecycle status from “open” to “pending customer”.
Editing workflow automations
If an automation has been found through the activities tab to be performing incorrectly, you can edit the automation by going to Administration > Automation Center. Here you can use the tabs to group automations based on what the run on, are trigged by, or the action they perform. You can also filter to find a specific automation.
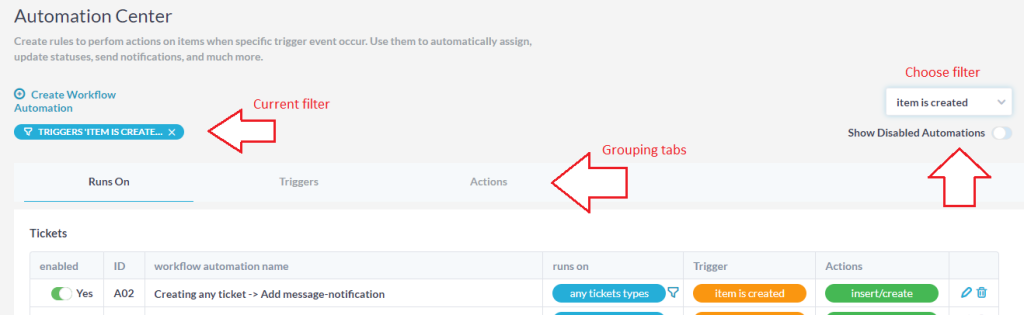
You can edit the desired automation with the pencil icon on the right-hand side, or delete it entirely with the trash-can icon. You can also create a new automation with the “create workflow automation” button at the top of the menu.
Do note, that the ID of workflow automations in OneDesk are unique. This means that when an automation is deleted or disabled, new automations will not take its ID slot. For example, if you have automation IDs 1, 2, 3, and then delete automation 3, replacing it with a new automation, you will have IDs 1, 2, and 4. This does not mean you are missing an automation somewhere.
Related articles
Getting started with workflow automations
Common workflow automations
Workflow automations to create items automatically