OneDesk has different objects to contain and organize information. The main objects that exist in OneDesk are: portfolios, folders, projects, and items. However, you can ONLY share projects and items, not portfolios and folders.
Portfolios and folders create structure. Portfolios group projects while folders group items. Projects group folders and items together.

Table of Contents
Portfolios & Folders
Projects
Items
How to Use Portfolios
How to Use Folders
How to Use Projects
How to Use Items
Portfolios & Folders
Portfolios and folders have one purpose in OneDesk: to provide structure. Both are SIMPLE objects and what you can do with them is very limited. You use these to help organize your OneDesk. Their only purpose is to structure and organize projects and items in your OneDesk.
About Folders
Folders contain items such as tickets and tasks and can be used to organize and structure your OneDesk. Folders must be placed inside of a project. You CANNOT share a folder. Access to a folder is only granted if someone has access to the project the folder is in.
About Portfolios
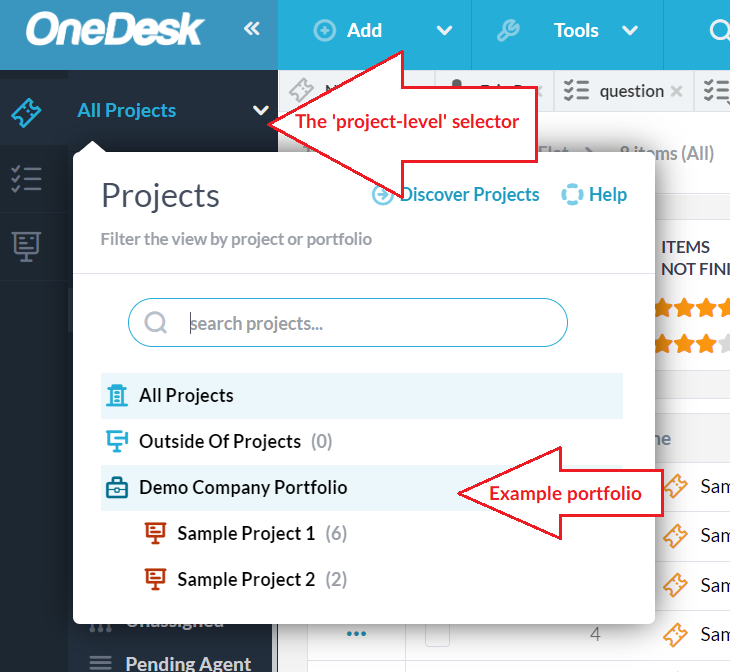
Portfolios contain projects and other portfolios. You CANNOT share a portfolio. Access to a portfolio is only granted if someone has access to the project(s) that is inside that portfolio. You can use them to organize your projects and a portfolio can contain as many projects as you like. You can also view the scope of a portfolio to see only the information from what’s contained within the portfolio.
When you create a portfolio, it is only seen by you. The only way another OneDesk user can see the portfolio is if it contains a project that is shared with that user. This rule is in place to ensure that users do not see empty portfolios in their OneDesk just because they are not given access to the projects inside them.
About Projects
Projects are containers for items such as tickets and tasks.
Projects:
- Can be placed on their own or inside of a portfolio
- Can have up to 10 project types
- Can have unique workflow statuses per type
- Can have unique workflow automations
- Can be shared with a team, individual, or customer
- Can be cloned or archived
About Items
Items are objects such as tickets and tasks. You can enable up to 30 unique item types in your OneDesk.
Items:
- Have to be either in a project or in “Outside of Projects”
- Can have up to 30 unique types
- Can have unique workflow statuses per type
- Can have unique workflow automations
- Can’t be placed directly into portfolios
- Can be shared with a team, individual, or customer
How to Use Portfolios
Portfolios let you organize your projects, serving as containers for projects. They are simple objects and CANNOT be shared. Access to a portfolio is only granted if someone has access to the project(s) that is inside that portfolio.
They only help organize and structure your OneDesk. Best practice when using portfolios is to have them represent organizations you are working with, or departments within your company.
Parent portfolios can be used to further stratify these organizations or teams. For example, if you are doing projects for multiple departments within a single customer organization, create a parent portfolio designating the organization at large, with several portfolios within
Keeping portfolios organized and structured is important to differentiating between specific department/team projects.
Note: You can create up to 10 ‘portfolio types’ or configure the portfolio icon. To create a new type or configure your icons go to Administration > Projects > click the Portfolio tab.

How to Create a Portfolio
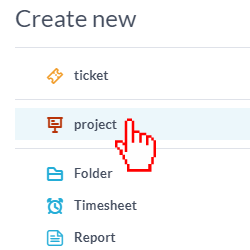
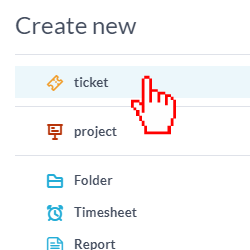
Step 1: Click the Add button at the top of the OneDesk application.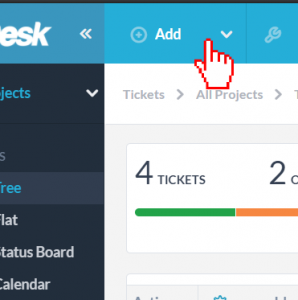
Step 2: Click the Portfolio button from the menu.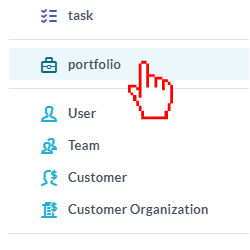
Step 3: Fill out the information for the portfolio and add a Parent portfolio if necessary then click Create Portfolio.
How to Use Folders
Folders help you to easily organize your items. They are simple objects and CANNOT be shared. Access to a folder is only granted if someone has access to the project the folder is in. They only help organize and structure your OneDesk.
How to Create a Folder Manually
You can create a folder manually from the Add button.
Step 1: Click the Add button at the top of the OneDesk application.
Step 2: Click Folder from the menu.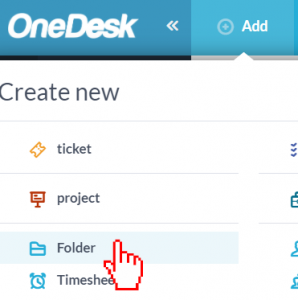
Step 3: Add a folder name and select which project you want to place it into.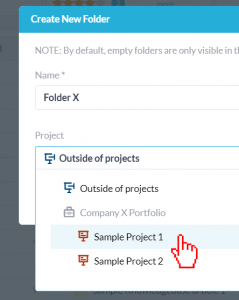
How to Click and Drag into Folders
You can click and drag on an item or a few selected items to place them into existing folders.
Step 1: Check the check boxes next to the items you wish to drag and drop into a folder.
Step 2: Click on one of the selected items and hold the mouse down while dragging the items to the folder you want to place them into.
Step 3: Once the folder is highlighted and you see the “Move x selected item(s) here” appear, then release the mouse and your items will place into the folder.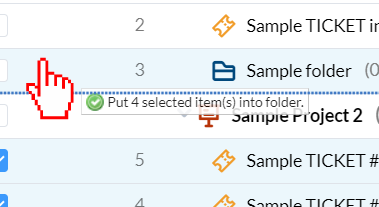
How to Create a Folder from a Selection of Items
You can easily place a bunch of items into a folder by following these steps:
Step 1: Select the items you wish to place into a folder by clicking on their checkboxes. 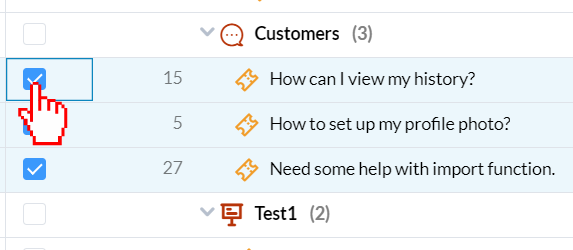
Step 2: Click on the … icon next to any one of the selected items.
Step 3: Click Indent Items or use the keyboard shortcut Ctrl+Shift+RIGHT-ARROW to place all the selected items into a new folder.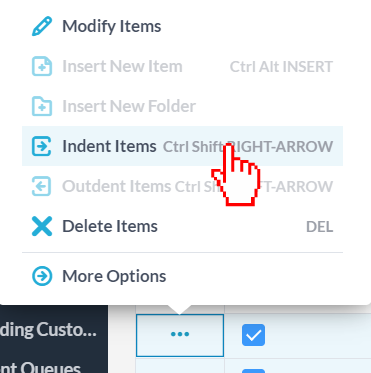
How to Use Projects
How to Create a Project
Step 1: Click the Add button at the top of the OneDesk application.
Step 2: Click Project from the menu.
Step 3: Fill out the information regarding the project and who to share it with then click Create Project.
How to Share a Project with a User, Team, or Customer
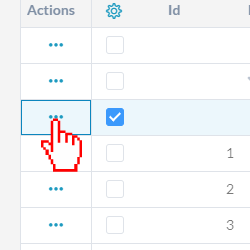
Step 1: Click the checkbox next to the project(s) you would like to share.
Step 2: Click on the … icon next to the project you would like to share.
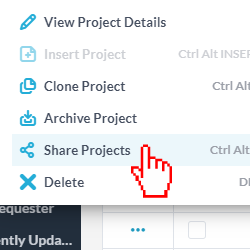
Step 3: Click Share Projects from the menu.
Step 4: Click the Add button in the Users or Customers tab to select who to share the project with. You can select a team, a user, an organization, or an individual customer.
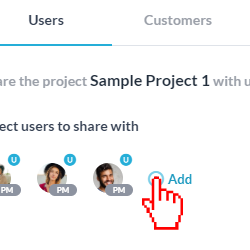
Step 5: Click Update to share.
How to Move a Project
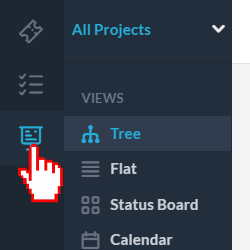
Step 1: Navigate to the projects application.
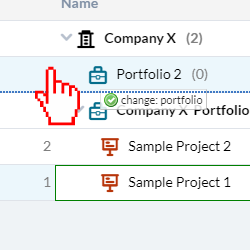
Step 2: Click on the Project you would like to move and hold then drag and drop it to the portfolio or to the location you would like to move it to. Projects can be placed inside of a portfolio or can be on their own.
How to Use Items
How to Create an Item
Step 1: Click the Add button at the top of the OneDesk application.
Step 2: Click the item type you would like to create. Note: You can enable up to 30 different types of items.
Step 3: Fill out the information in the creation form and click Create.
How to Share an Item
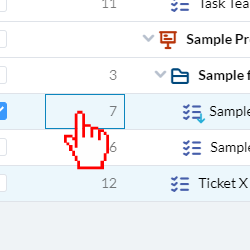
Step 1: Double click on the ID number next to the item you wish to share.
Step 2: Click the Add button to select a team, a user, an organization, or an individual customer.
Related Articles: