
OneDesk’s workflow automations are a powerful tool, allowing for deeply customizable ways to streamline your workflow. One useful workflow automation is updating an item’s successors when the predecessor item’s lifecycle changes. In other words, this automation will start a task when another finishes.
Note: For subtasks, you can configure subtask rollup without using workflow automations. Simply turn on your preferred options in your company settings.
Predecessor vs. successor items
In OneDesk, items may be linked together and defined by a linked item relationship. Two relations which linked items can have are “preceded by” and “succeeded by”. You can set dependencies from the item detail panel or the Gantt chart.
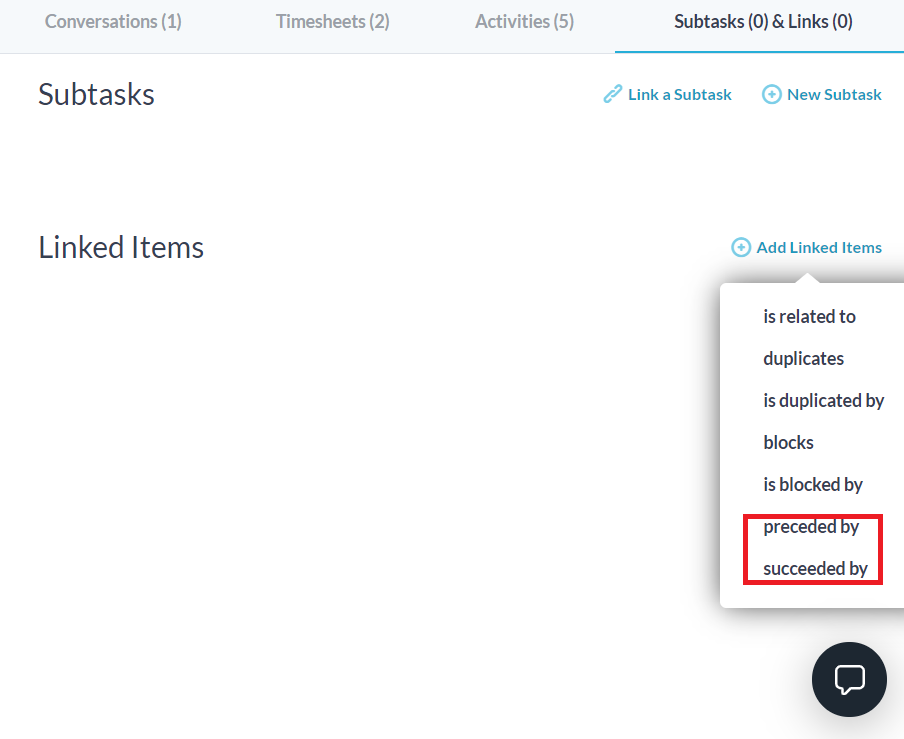
The relationship “preceded by” indicates that the linked item comes before the specific item, while “succeeded by” shows that the linked item comes after. In other words, the predecessor is the parent and the successor is the child. In the image below, the sample ticket is in the middle of a linked relationship. The sample task is its parent, while the second sample ticket is its child.

Now that we know the difference between predecessor and successor linked item relationships in OneDesk, let’s create an automation to automatically update an item’s successor task lifecycle state to “ready to start” when the predecessor is marked as “closed”.
Accessing workflow automations
First, navigate to the “more applications” section on the bottom-left of the OneDesk interface, and select the “administration” cog. From here, select “tickets”, “tasks”, or “projects” under the “user apps” section, depending on what item you wish to create an automation for. Next, scroll down to the “workflow automations” section.

Select “Create Workflow Automation” in the top-left corner. This will bring you to the workflow creation screen – you can select the item that you wish this automation to run on, the trigger for the automation to occur, and the action that occurs when the trigger is met. Additionally, you can filter your selections to apply only to items that meet certain conditions.

Automatically start a task when another finishes
Let’s have our automation run on tasks, and update successors to “ready to start” when the predecessor item’s lifecycle state changes to “closed”. Under “runs on”, we select tasks, set our trigger to be the lifecycle status being closed, and the action to update our task’s successor lifecycle state to “ready to start”.

Select save, and you have created your automation to update a successor item when its predecessor is completed.